Caring for Sedum: Tips for Success
If you’re looking to add a pop of texture and color to your garden, sedum plants are a wonderful choice. Known for their hardiness, these perennials from the stonecrop family thrive in various conditions and are perfect for both beginner and experienced gardeners. To keep your sedum plants healthy, ensure they are planted in a sunny spot and well-draining soil. Their thick, succulent leaves help them retain moisture, making them drought-tolerant and easy to care for.
Whether you choose low-growing or upright varieties, sedums are versatile and will enhance any garden space. If you’re planting them for the first time, consider watering weekly during the first year to help them establish. Once settled, they require minimal care, and additional watering is usually unnecessary unless faced with extreme dryness.
Besides regular watering in the early stages, other care tips include limited fertilization and occasional deadheading of flowers to encourage further blooming. With these simple steps, your sedum plants will flourish, providing beauty and resilience in your garden for years to come.
Getting Started with Sedums
Choosing the right sedum variety and understanding how they grow are key steps for successful planting. These hardy plants come in several forms, each with its own unique traits and care needs.
Selecting the Right Variety
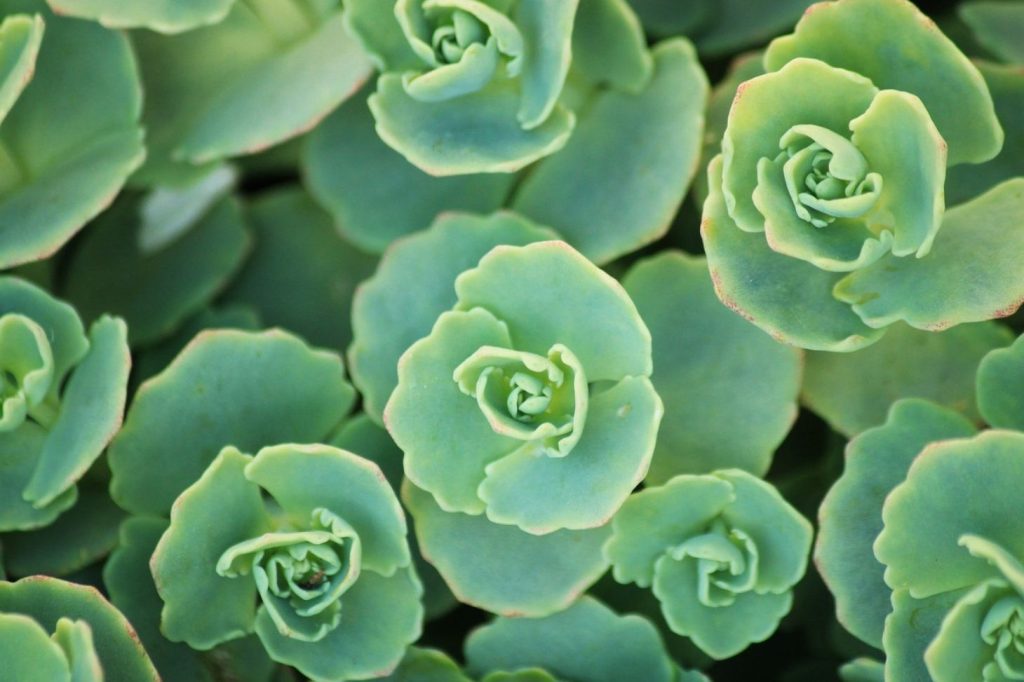
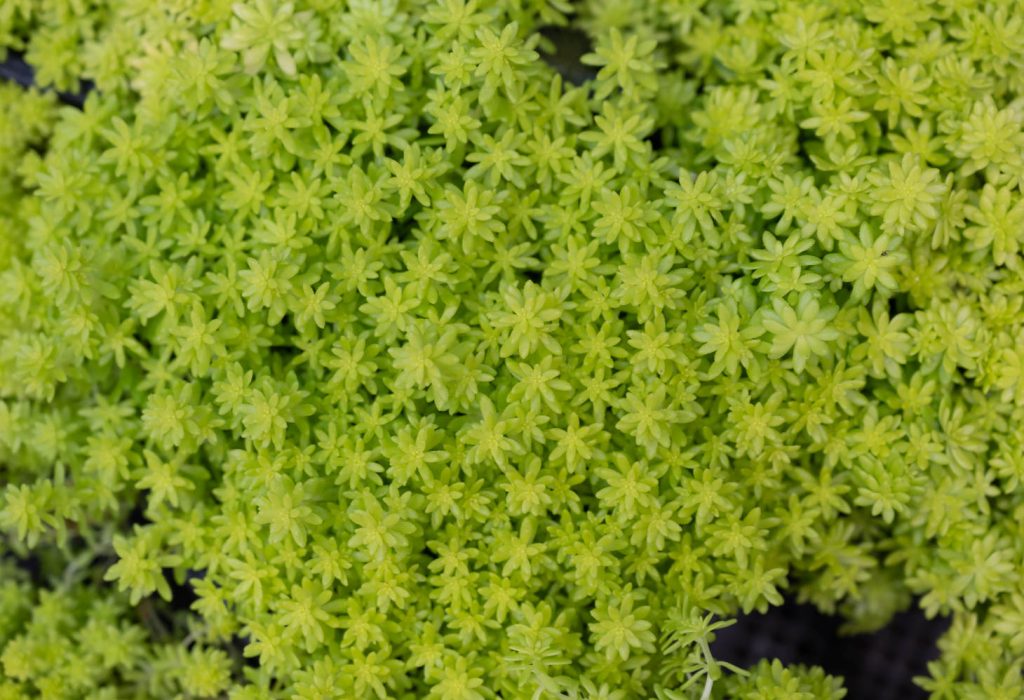
Sedums, also known as stonecrops, come in a range of sizes and shapes. You can choose low-growing or creeping varieties like Sedum reflexum and Dragon’s Blood Sedum. These are excellent for ground cover or hanging baskets.
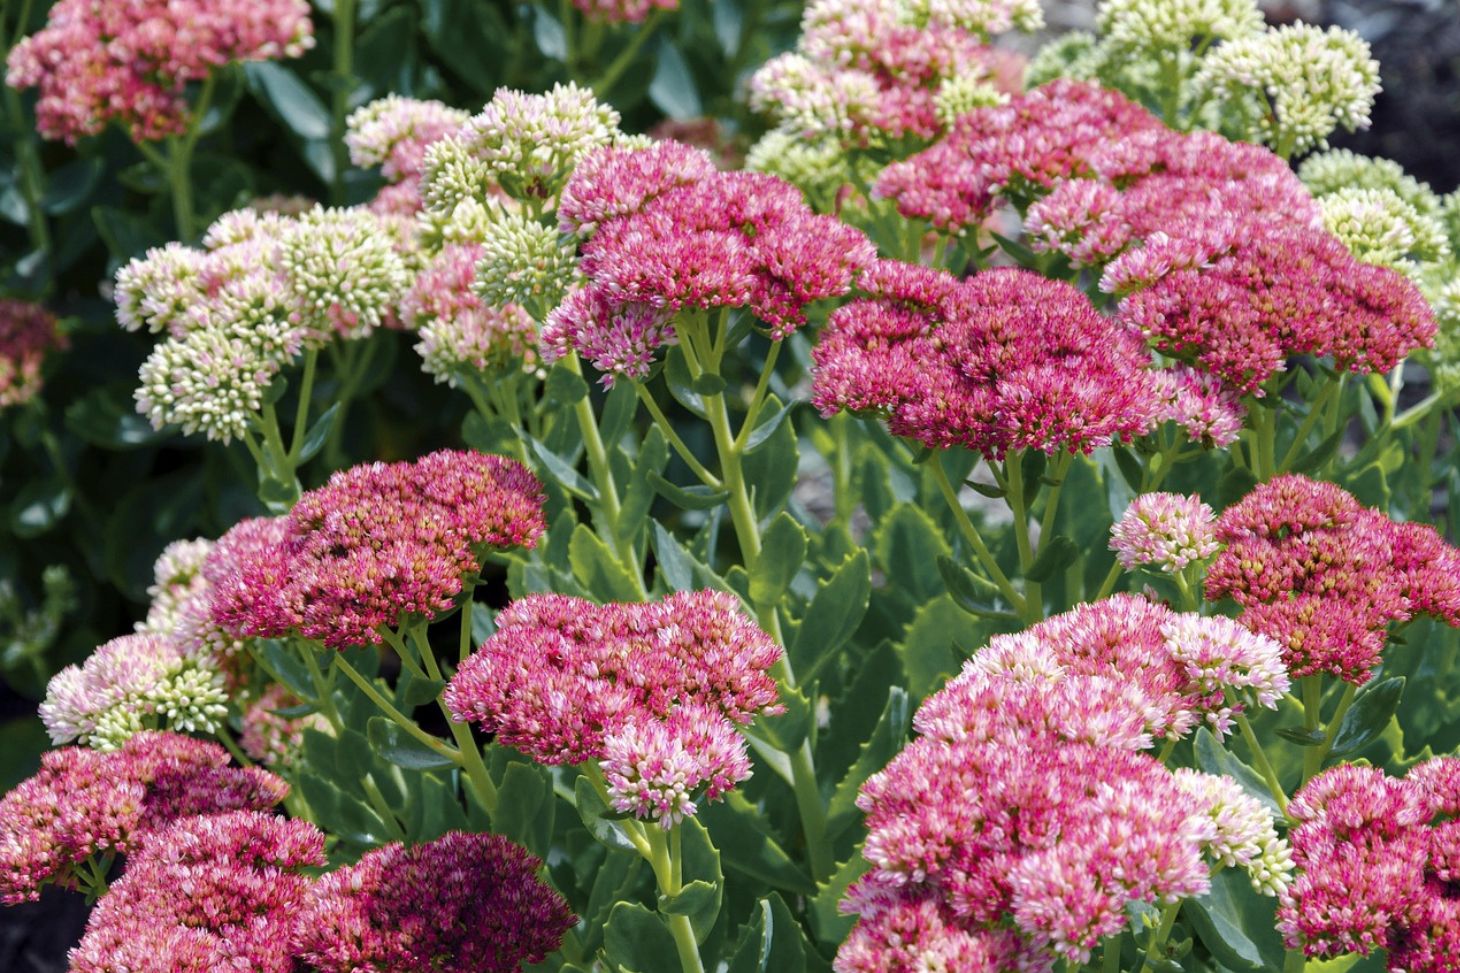
If you’re looking for something taller, consider upright varieties like Autumn Joy Sedum. These have stunning flowers and typically reaching heights of 18-24 inches, making them great focal points in your garden.
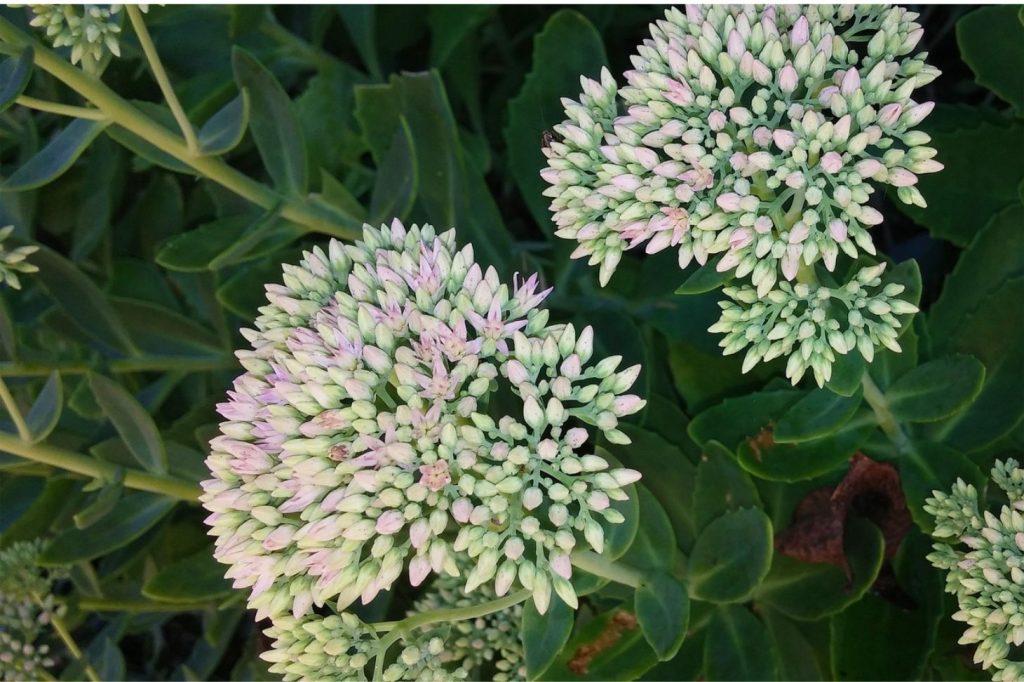
Keep your local climate in mind. If you live in a colder area, opt for sedum types that can withstand frost and drop their leaves in winter. No matter the variety, sedums thrive in sunny spots with well-drained soil, so location is key.
Understanding Sedum Basics
Sedum plants, commonly referred to as stonecrop, are diverse and include both hardy outdoor varieties and more delicate indoor types. Hardy sedums, often classified under the genus Hylotelephium (formerly considered part of Sedum), are popular for outdoor gardens in the U.S. due to their drought tolerance and resilience to various climates. They typically grow upright and are valued for their fleshy leaves and star-shaped flowers.
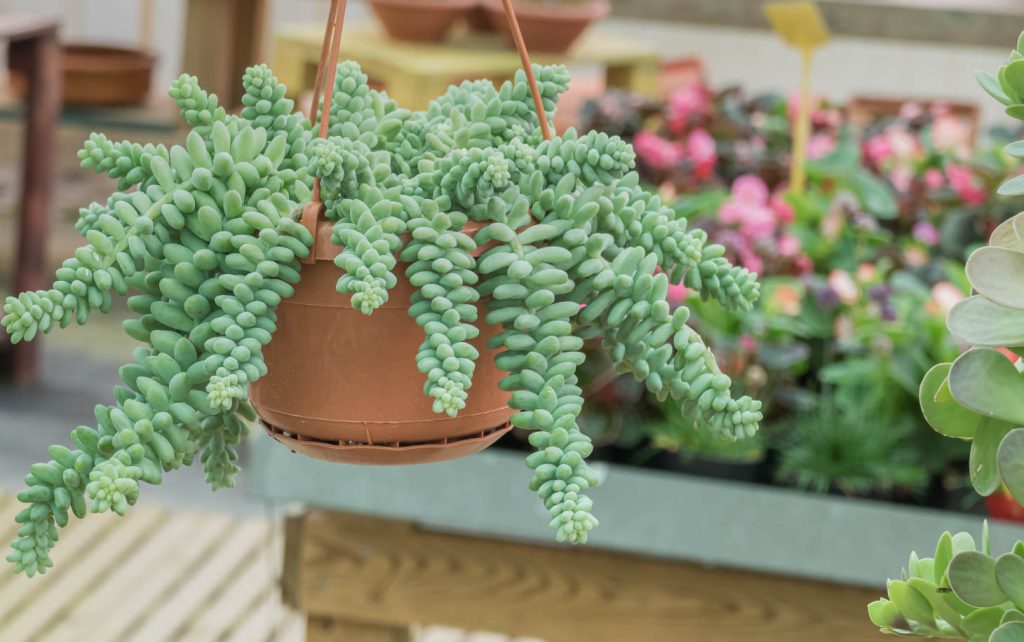
Conversely, trailing sedum varieties, like Sedum morganianum (burro’s tail) and Sedum burrito, are commonly grown indoors in hanging baskets. These species thrive in controlled environments where they can avoid frost and overwatering, which they are less equipped to handle compared to their hardy counterparts. Both types are low-maintenance and ideal for those seeking easy-to-care-for plants.
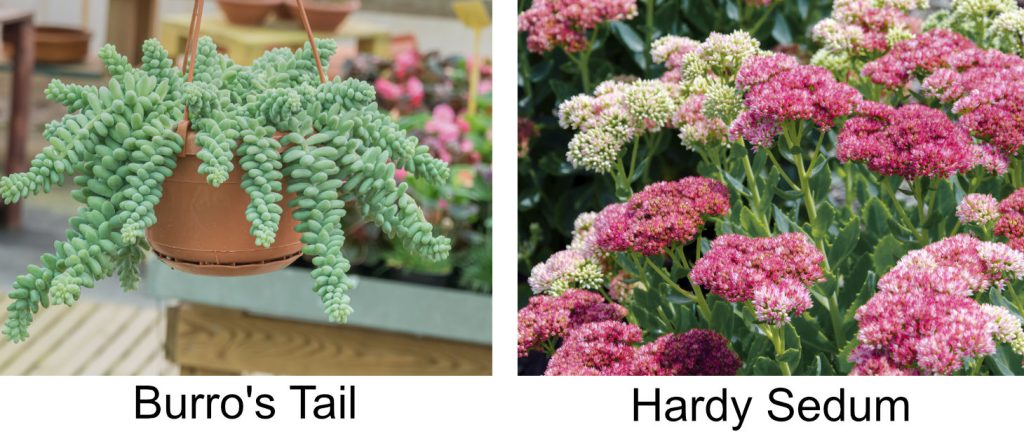
Planting sedums is flexible; you can start them from seeds, cuttings, or by dividing mature plants. Just make sure the danger of frost is gone when planting outdoors. Regular deadheading isn’t necessary, but trimming them after flowering helps maintain their shape. With a little care, your sedum plants can flourish year after year, bringing color and texture to your garden.
Note: The genus Hylotelephium was previously included within the broader genus Sedum. However, as botanical classification systems evolved, taxonomists reclassified certain plants into Hylotelephium based on differences in their morphology and genetic characteristics. This reclassification was intended to better reflect their evolutionary relationships. While many gardeners and sources still refer to Hylotelephium species as “sedums” for convenience, the distinction is now widely recognized in scientific and horticultural contexts.
Planting and Soil Management
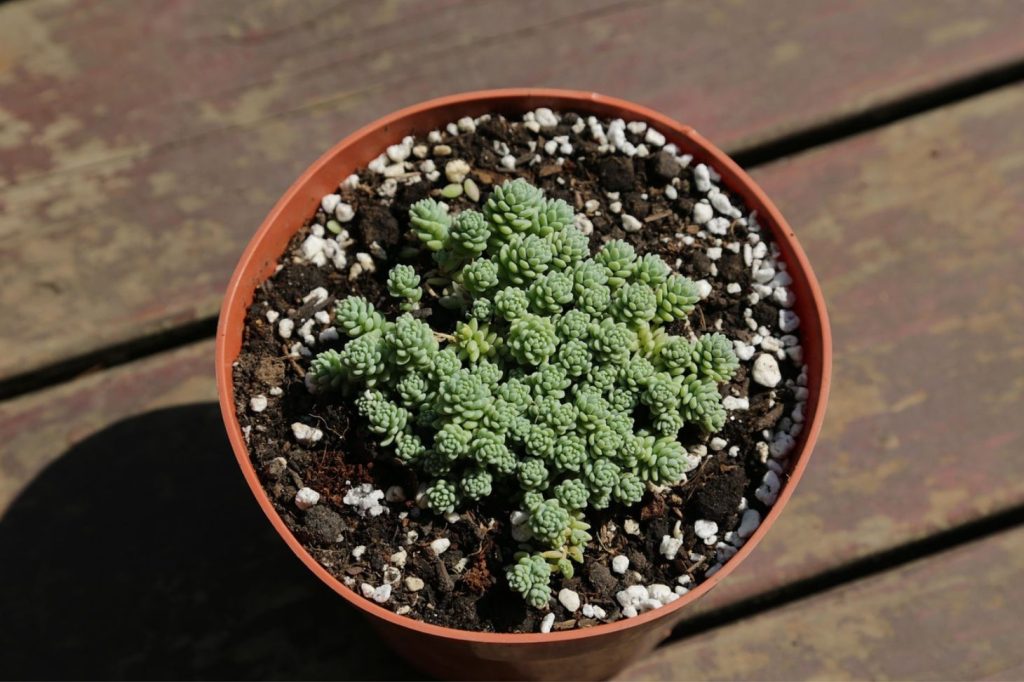
Caring for sedum plants begins with choosing the right soil and planting them correctly. Sedums thrive in well-drained environments, and understanding soil management is key to their success.
Soil Preparation for Sedum
Start with well-drained soil to keep your sedum healthy. Sedum plants prefer soil that doesn’t hold too much water to prevent root rot. If your soil is clay-heavy, amend it with organic material like compost or sand. This helps improve drainage.
The ideal soil pH for sedums is neutral to slightly alkaline. Check your soil’s pH before planting and adjust if needed. Many garden stores offer pH testing kits to make this process easier. Proper soil preparation ensures your sedum has a strong start.
Creating the perfect soil for your sedum can be tricky. Finding the right mix of ingredients and dealing with large quantities can be a hassle.
Why not simplify things? Our specially formulated succulent soil provides the perfect balance of drainage and nutrients, ensuring your sedum thrives.

The Planting Process
When planting sedum, choose a sunny spot as they prefer full sun. Space the plants based on the variety. For smaller sedum types, such as creeping varieties, spacing of 6 to 12 inches is recommended, while clumping varieties should be spaced 1 to 2 feet apart. This spacing supports good airflow and prevents diseases.
Dig a hole deep enough for the roots and gently place the plant in it. Ensure the root ball is covered with soil. If you’re planting in a rock garden or poor soil, the natural drainage can be beneficial for sedums. After planting, water the sedum thoroughly to help establish roots. Use mulch to maintain soil moisture without waterlogging.
Sedum Care and Maintenance
Sedum plants are known for their low-maintenance nature and adaptability. To keep them thriving, focus on proper watering, fertilization, and regular pruning.
Watering Requirements
Sedum plants are drought-tolerant, making them perfect for people who might forget to water often. They prefer soil that isn’t too wet, so letting the top inch of soil dry out before watering again is best. Overwatering can hurt your sedum, causing root rot.
During the growing season, water your sedum once a week. In the winter, you can cut back and water just once every few weeks. Mulching around the plant can help retain moisture, protecting it from extreme dryness, but be careful not to overdo it. Too much mulch can lead to soggy conditions.
Optimal Fertilization
Sedums do not need heavy fertilization. They are light feeders and do well with a balanced, slow-release fertilizer applied in the spring. This provides enough nutrients to support healthy growth.
Avoid using too much fertilizer, as this can lead to weak, leggy growth. Once a year is usually enough for these hardy plants. If you are using liquid fertilizer, consider diluting it to half strength to avoid any negative effects.
Pruning and Deadheading
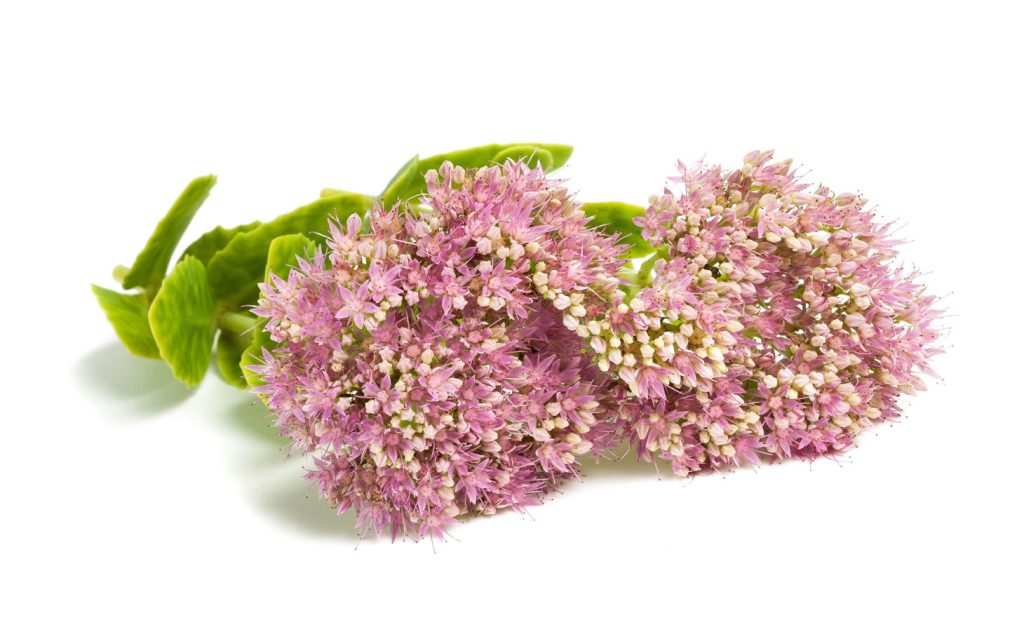
Pruning is an essential part of sedum care. Removing dead or damaged leaves helps maintain a neat appearance and encourages healthier growth. In the early spring, cut back any old stems to make way for fresh growth.
Deadheading—or removing spent flowers—ensures that your sedum puts energy into new blooms. This keeps the plant looking its best throughout the growing season. Some varieties may not need deadheading if you’re growing sedum for ground cover. Be sure to trim back groundcover types if they start to grow beyond their intended space.
Propagating and Expanding Your Sedum Collection
Expanding your sedum collection is a fun activity that can give you more beautiful plants. You can grow new sedum plants from cuttings or by dividing existing ones.
Methods of Propagation
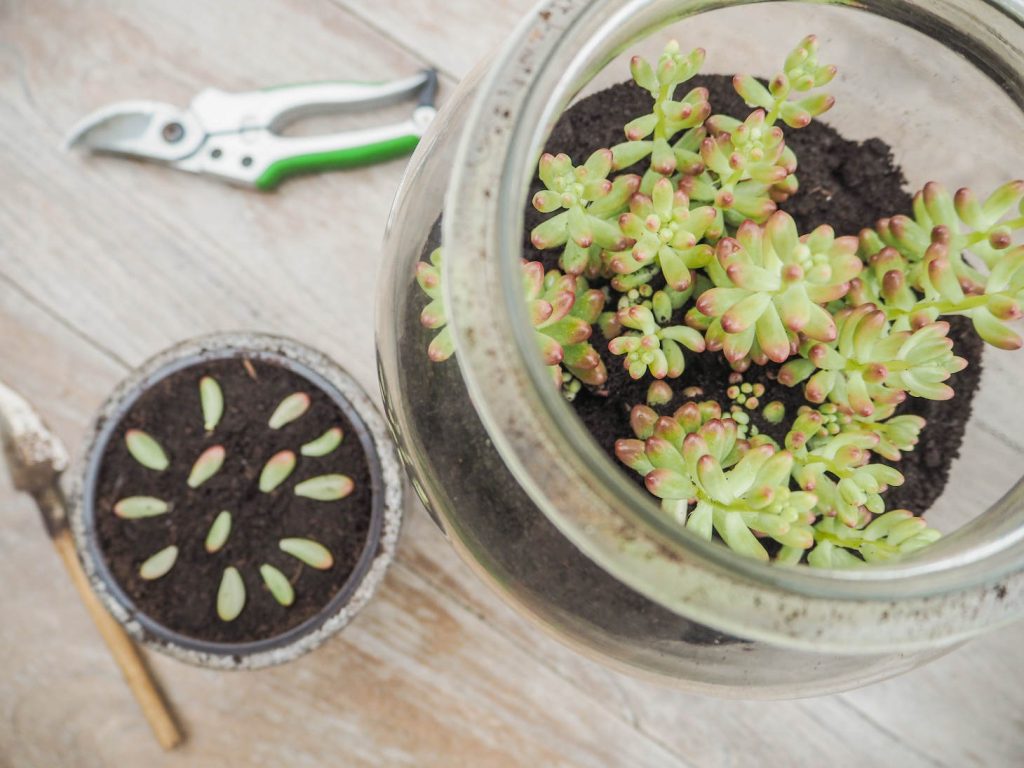
There are a few ways to propagate sedum. Stem cuttings are simple and effective. You just cut a segment of a healthy stem, remove the lower leaves, and let it dry for a day. Once ready, plant it in soil or place it in water until roots grow.
Leaf cuttings are another choice. Just pick healthy leaves and let the ends dry. Plant them in soil once a callus forms. Division works best for larger plants. Divide the root clumps and plant them as separate parts.
Stick to these methods, and you’ll fill your garden with sedum in no time!
Caring for New Sedum Plants
After propagation, the new sedum plants need care to thrive. Place them in a spot with bright, indirect light. Avoid overwatering because sedum prefers drier conditions. Let the soil dry out a bit between waterings.
Fertilize the young plants sparingly. Use a balanced liquid fertilizer, diluted to half strength, once a month during the growing season.
Watch for pests like aphids, which can harm young plants. If you spot any, treat with insecticidal soap for best results.
Caring for new sedum plants with these tips will ensure their healthy growth!
Defending Against Pests and Disease
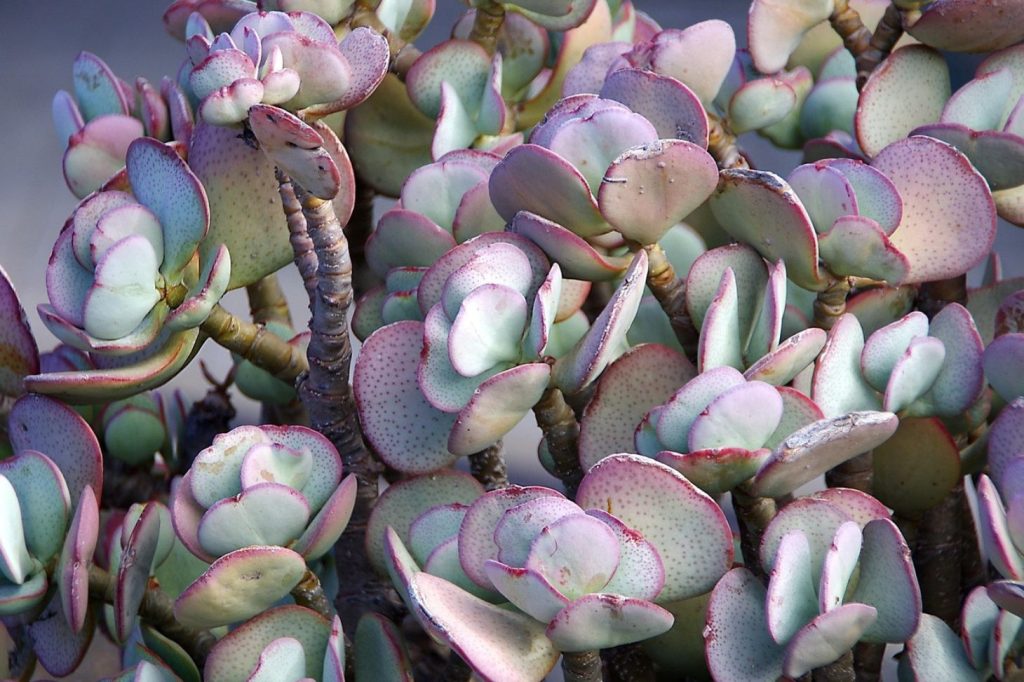
When caring for sedum plants, dealing with pests and preventing diseases is essential to keep them healthy. Implementing regular monitoring, proper spacing, and correct watering can help protect your plants from potential threats.
Common Pests
Sedum plants can attract certain pests like aphids and mealybugs. These tiny insects can damage plants by sucking their sap.
To manage them, regular inspection is necessary. If you spot aphids, a strong spray of water can dislodge them. For more stubborn infestations, consider using insecticidal soap or horticultural oil.
For your outdoor hardy sedums, slugs and snails may also nibble on your sedum leaves. To combat these pests, you can use barriers like crushed eggshells around the plant or set up traps with beer. Manually removing them during damp evenings is also effective.
Disease Prevention
Sedum plants are usually tough, but your plant might still face root rot or fungal diseases like powdery mildew if conditions are right.
Root rot often occurs in poorly drained soil. Ensure your planting site allows excess water to drain well. If your plant is affected, reducing water and replanting in drier soil could save it.
Powdery mildew can develop in humid conditions with poor air flow. To prevent this, space your plants properly and provide good air circulation. Pruning any affected parts and applying a fungicide can help manage the situation if it arises. Regular checks and early intervention are key in keeping your sedum healthy.
Design and Landscaping with Sedum
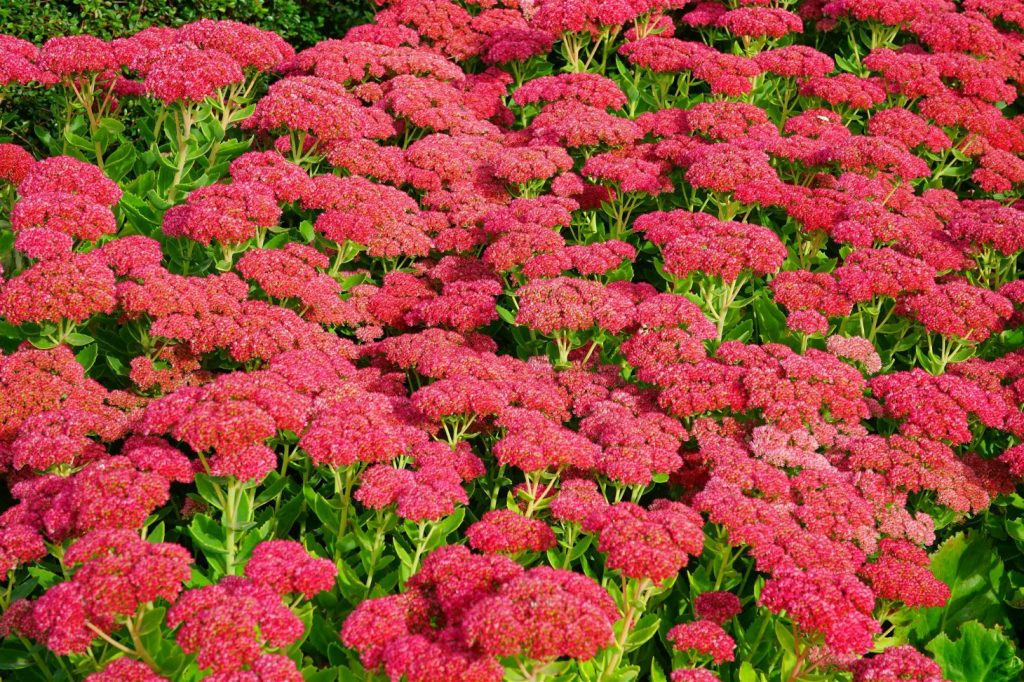
Sedum plants bring diversity and versatility to garden design. They can be used in so many ways, whether carpeting the ground or adding pops of color to containers. They draw pollinators like butterflies with their star-shaped flowers and offer texture with their thick succulent leaves.
Incorporating Sedum into Garden Spaces
Sedum can enhance various parts of your garden. As ground cover, low-growing types can spread along paths or fill gaps in rock gardens. Sedum album or the Blue Spruce are perfect choices here. For something more vertical, the upright Autumn Joy adds height and interest with its strong stems and large blooms.
Consider using sedum in containers or even hanging baskets. They thrive in both full sun and partial shade, needing little water once established. Sedum’s resilience makes it great for sunny spots or drought-prone areas. For color contrast, plant sedum with other drought-tolerant succulents or flowering plants that complement its shades.
Sedum as Seasonal Accents
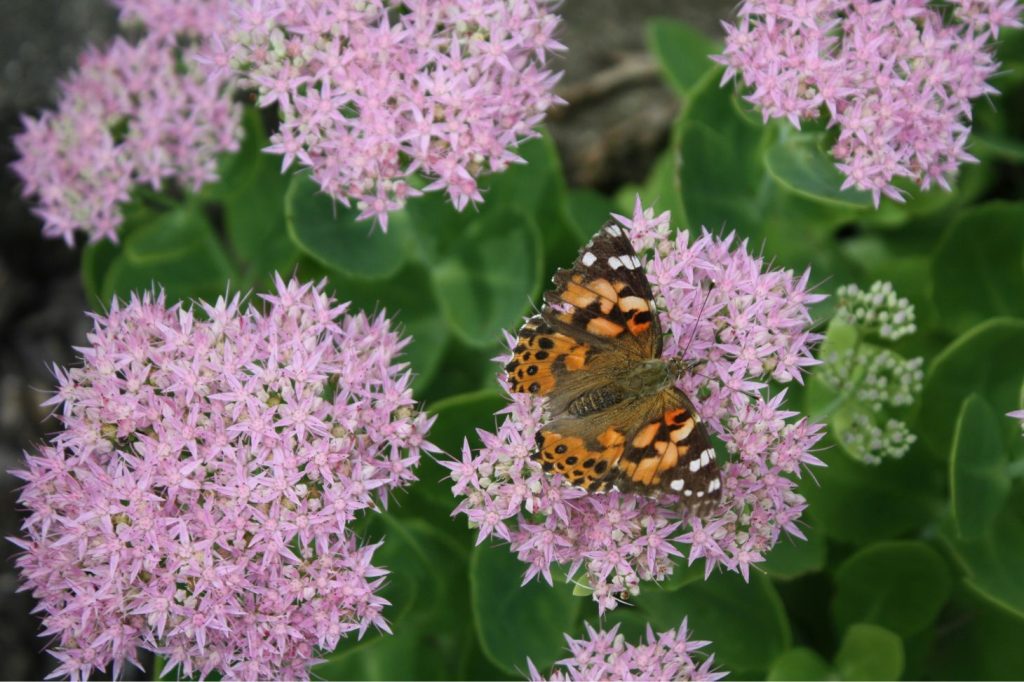
Sedum brings beauty in every season, especially in summer and fall. Its blooms can last into the cooler months, with yellow, white, bronze, and pink flowers that brighten any garden. They make excellent edging plants or can be used in mass plantings for a striking visual impact. Their star-shaped flowers are not just pretty but attract benefactors like butterflies and other pollinators.
These plants double as long-lasting cut flowers, perfect for indoor arrangements. Their thick succulent leaves are deer-resistant, making them a reliable choice for herbaceous perennial borders. Consider adding sedum to your succulent garden or flower bed for a touch of timeless elegance. With their wide variety, sedum ensures your garden remains vibrant through each season’s changes.
Frequently Asked Questions
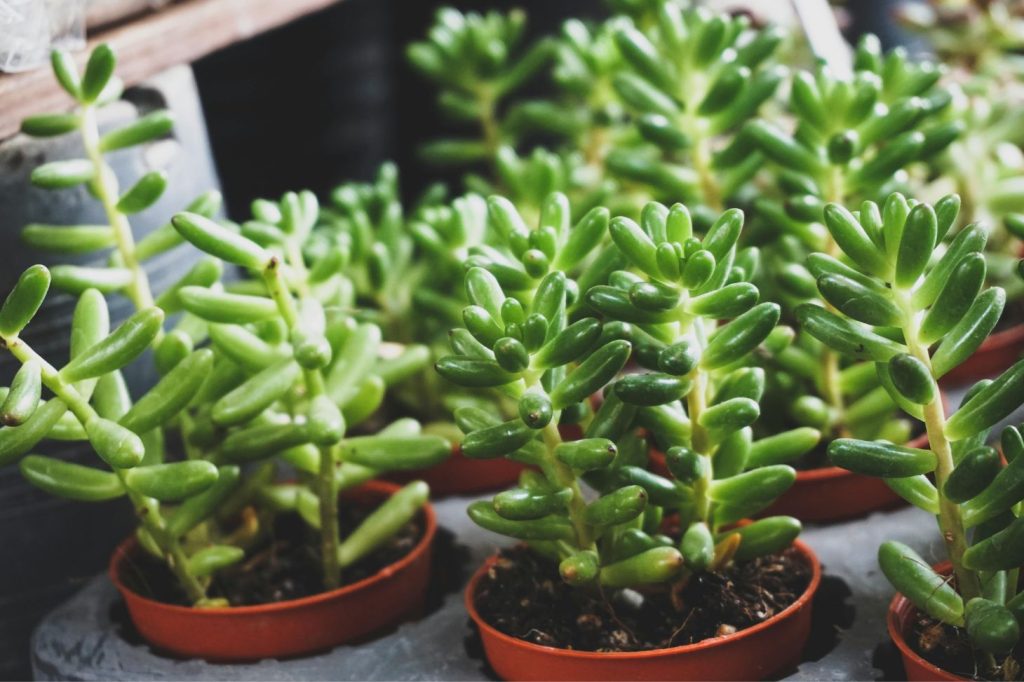
Taking care of sedum plants can be easy with the right knowledge of indoor care, container growing, and basic maintenance like sunlight needs and pruning.
How do you care for sedum plants indoors?
When keeping sedum plants indoors, make sure they have access to bright light. A south-facing window is ideal. Use well-draining soil and be careful not to overwater, allowing the soil to dry out between waterings. A pot with drainage holes is helpful.
What are the best practices for caring for sedum plants in containers?
Choose a container with drainage holes to prevent water buildup. Use a soil mix that’s specific for succulents or cacti. Place the container where it receives plenty of sunlight. Water sparingly, especially during cooler months, as containers dry out faster than the ground.
Is it necessary to cut back sedum plants, and if so, when?
Yes, trimming sedum plants is useful to keep them tidy and promote new growth. Trim them in early spring or after flowering. You can remove any dead or damaged stems then, as this helps keep the plant healthy.
How much sunlight do sedums require to thrive?
Sedums do best with full sun, needing around 6 to 8 hours daily. While some varieties tolerate partial shade, optimal growth and flower production occur with ample sunlight. If grown indoors, place them in a sunny spot.
What are the steps for planting sedum in the ground?
To plant sedum outdoors, choose a spot with well-draining soil and plenty of sunlight. Dig a hole that is slightly larger than the root ball. Mix in coarse sand to the soil if needed for better drainage. Place the plant in the hole and cover it with soil. Water lightly.
How do you maintain the appearance of sedum throughout the seasons?
To keep sedum plants looking good year-round, remove any wilted blooms to encourage new ones. In colder months, protect them from frost by mulching or moving pots to a sheltered spot. Trim dead growth in spring to promote fresh buds.

