
Potting Prickly Pear Cactus
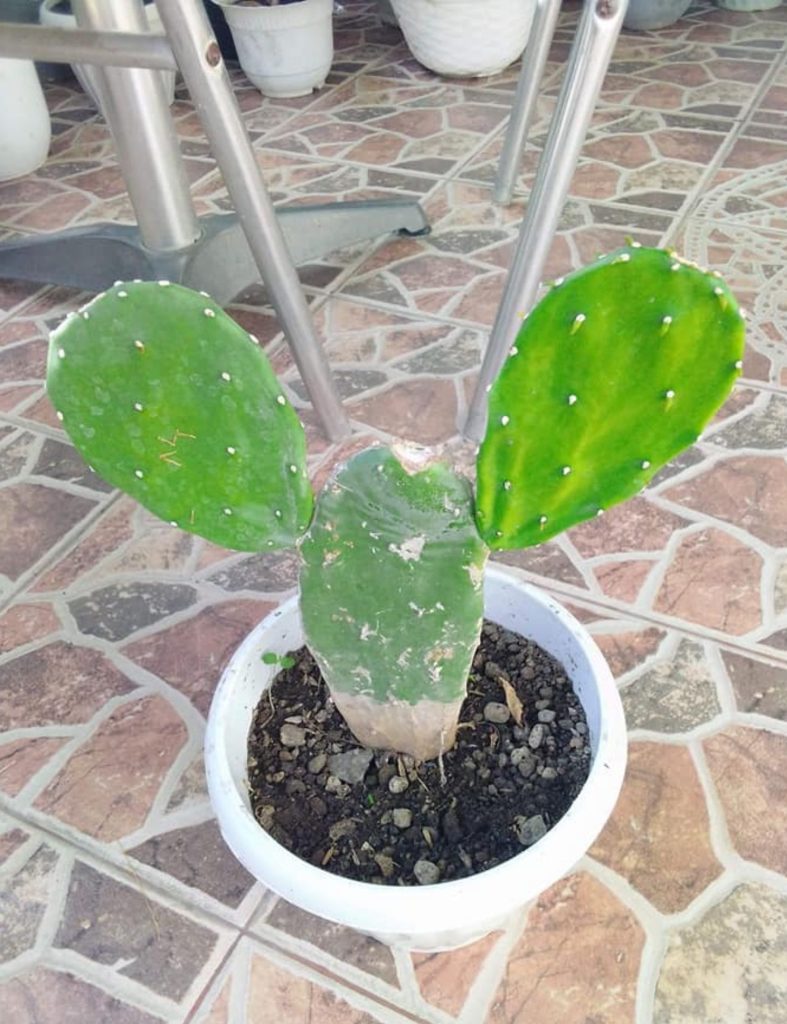
Prickly pear cacti make wonderful houseplants with their unique paddle-shaped segments and colorful blooms. These desert natives bring a touch of the wild southwest to any home garden and require minimal attention once established. When potting a prickly pear cactus, always choose a wide, low container with excellent drainage holes and use well-draining cactus soil to prevent root rot.
Working with these spiny plants requires care, but the results are worth it. Before handling your prickly pear, grab thick gloves to protect yourself from both the large visible spines and the tiny, nearly invisible glochids that can cause irritation. Allow any broken pieces to callous over for a few days before planting them in soil, rather than placing them directly in water like other houseplants.

Prickly pears prefer neutral to alkaline soil and thrive in bright, sunny locations. Give your newly potted cactus time to adjust before watering, then water sparingly, allowing the soil to dry completely between waterings. These resilient plants will reward your minimal effort with years of growth and possibly even fruit or flowers when properly potted.
Key Takeaways
- Choose a wide, shallow pot with excellent drainage and cactus-specific soil mix for successful prickly pear cultivation.
- Protect your hands with thick gloves when handling prickly pear cacti to avoid painful spines and irritating glochids.
- Water your potted prickly pear sparingly and place in bright sunlight for this easy-care plant to thrive in a home environment.
Understanding the Prickly Pear Cactus
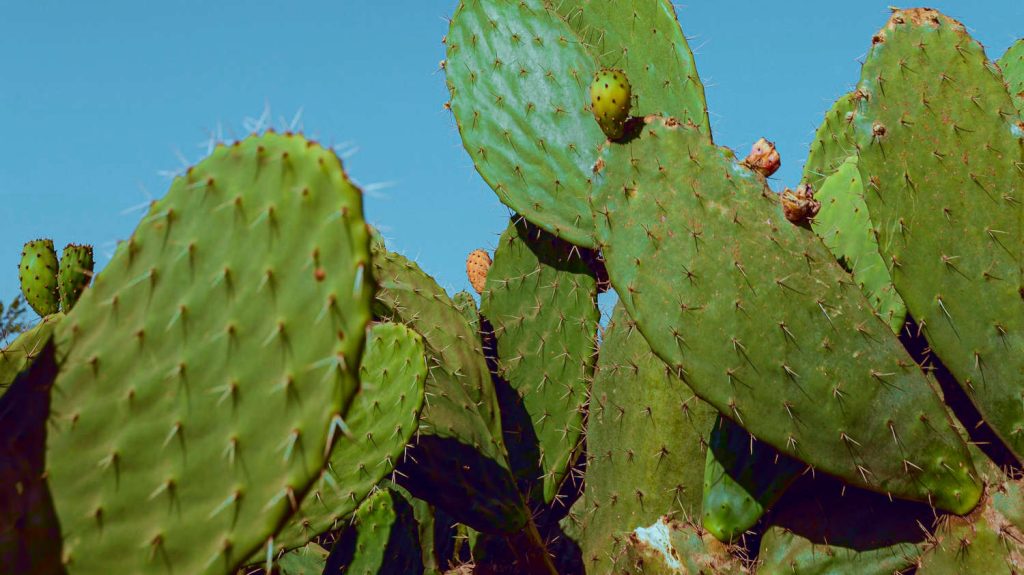
Prickly pear cacti are distinctive plants known for their flat, paddle-shaped pads and ability to thrive in harsh conditions. These members of the Opuntia genus have adapted to survive with minimal care in hot, dry environments.
Species Varieties
The Opuntia genus includes numerous prickly pear varieties, each with unique characteristics.
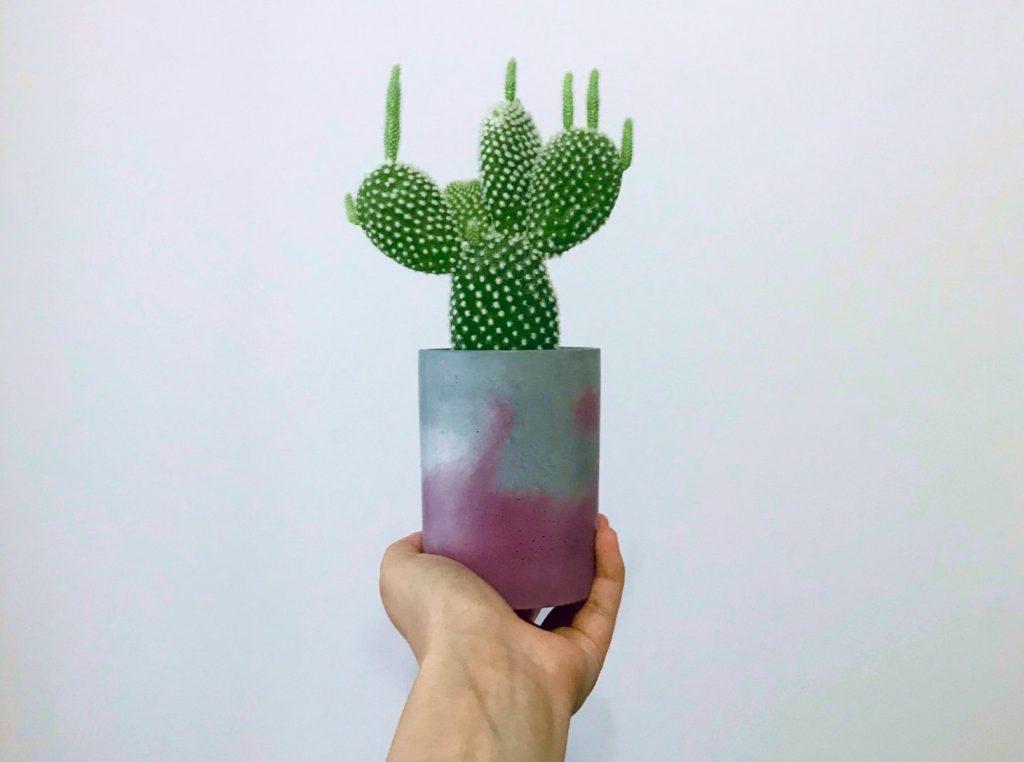
As a beginner you might confuse Prickly pear cacti with Bunny ear cacti. At first glance they look a bit similar due to their pad structures. Opuntia microdasys, known as the Bunny Ears cactus, features small, fuzzy glochids rather than large spines. When looking for a Prickly cactus look for it’s long sturdy spines rather than smaller fuzz and hairs!
Opuntia santa-rita stands out with its purple pads that intensify in color during cold weather. For those in colder regions, seek out Opuntia engelmannii, which offers good cold hardiness down to around 0°F in some varieties.
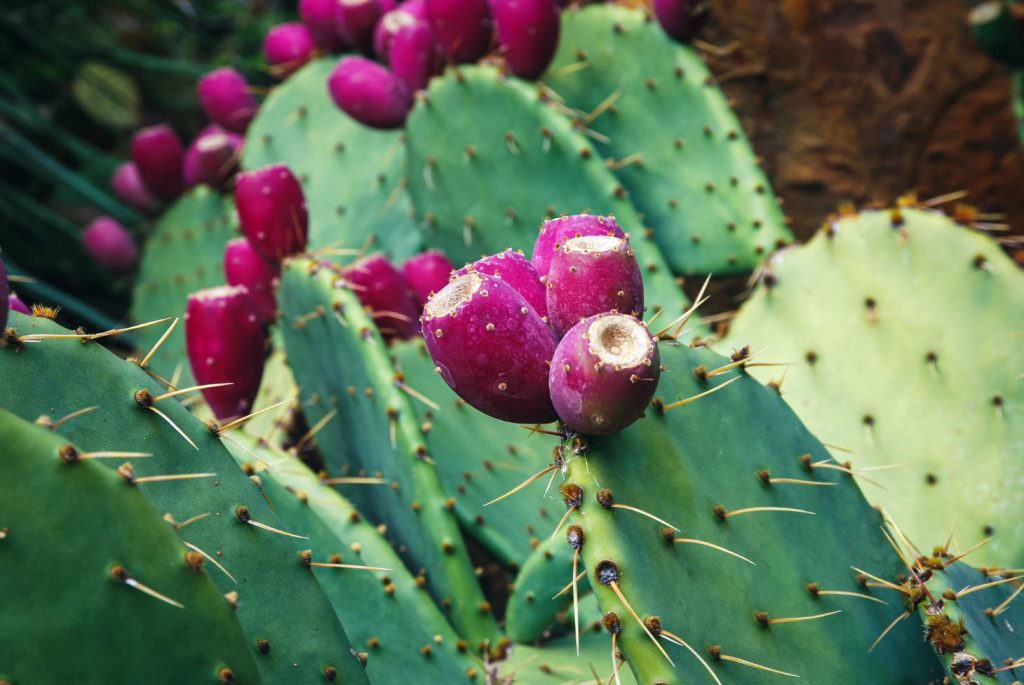
Many prickly pears produce edible fruits and pads. The “nopal cactus” (often Opuntia ficus-indica) is cultivated specifically for its edible qualities. These paddle cacti vary greatly in size, from small desktop plants to towering specimens reaching over 15 feet tall.
Optimal Growing Conditions
Prickly pear cacti thrive in full sun, requiring at least 6 hours of direct sunlight daily. When growing indoors, place them near south or west-facing windows to provide adequate light. Without enough sun, their growth becomes stunted and pads may elongate unnaturally.
These cacti need well-draining, sandy or gravelly soil. Their roots rot easily in wet conditions, so proper drainage is essential. Use cactus soil or amend regular potting mix with coarse sand and perlite for better drainage.
Temperature tolerance varies by species, but most prickly pears handle heat exceptionally well. Many varieties can withstand temperatures down to 14°F (-10°C), with some hardier species surviving even colder conditions. They prefer hot, dry environments but adapt to various climates with proper care.
Prickly pears need minimal watering. Wait until the soil is completely dry before watering again. During winter, reduce watering even further as the plant enters dormancy.
Cultivation and Care
Prickly pear cacti are remarkably resilient desert plants that thrive with minimal attention. These distinctive succulents require specific conditions to flourish both indoors and outdoors.
Planting and Soil Requirements
Prickly pears need well-draining soil to prevent root rot. Choose a cactus-specific potting mix or create your own by mixing regular potting soil with coarse sand and perlite in equal parts. This ensures proper drainage and prevents water retention around the roots.
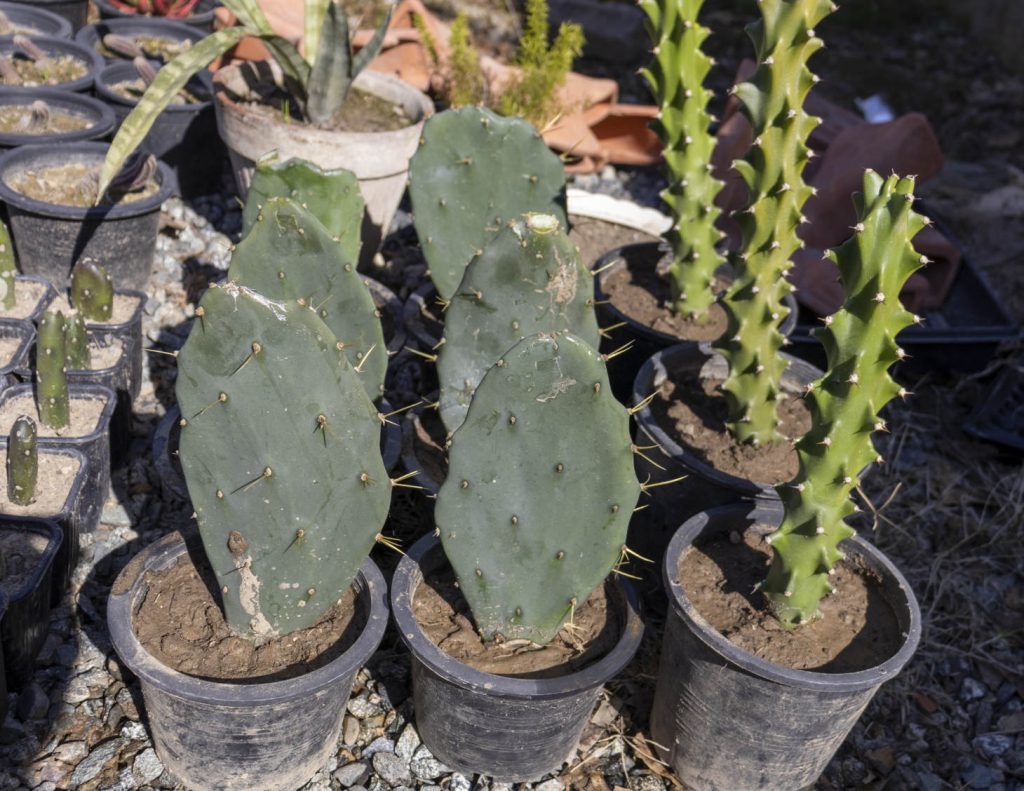
When selecting a container, opt for a low, wide pot rather than a deep one. This accommodates the sprawling growth habit of prickly pears and provides better stability. Make sure your pot has drainage holes at the bottom.
Plant your cactus at the same depth it was previously growing. Don’t bury it deeper as this can cause rot issues. Leave the soil surface slightly below the pot rim to prevent water spillage during watering.
Place your potted cactus in a location that receives full sun for at least 6 hours daily. Southern or western-facing windows are ideal for indoor plants.
Propagation and Transplanting
Growing your own prickly pear cactus is easy with proper propagation techniques. Once established, these hardy plants can be transplanted to new locations with minimal stress.
Methods of Propagation
Prickly pear cacti can be propagated through several methods, with pad cuttings being the most common. To propagate from a pad, cut a mature pad from the parent plant and let it callus over for a few days. This drying period is crucial for preventing rot and encouraging root development.
Once callused, plant the pad by burying about 1/3 of it in well-draining cactus soil. Place it in indirect light until roots develop, which typically takes 4-6 weeks.
You can also grow prickly pears from seeds, though this method takes longer. Collect seeds from ripe fruits, clean them, and allow them to dry. Plant them in cactus soil, keeping it slightly moist until germination occurs.
No watering is needed during the initial rooting phase for pad cuttings. Roots will develop naturally from the plant’s stored moisture.
Transplant Techniques
When transplanting prickly pear cacti, timing is important. Spring or early summer provides ideal conditions as the plant can establish before winter dormancy.
Safety first: Always wear thick gloves when handling prickly pears. The tiny glochids (hair-like spines) can cause irritation and are difficult to remove from skin.
Prepare the new location with well-draining soil. For container planting, use specialized cactus mix or create your own by combining regular potting soil with coarse sand and perlite.
Dig a hole large enough to accommodate the root ball. Carefully remove the plant from its original location, supporting the pads to prevent breaking. Place it in the new hole at the same depth as before.
Water thoroughly immediately after transplanting newly transplanted prickly pear cactus to help settle the soil around the rootball. Position outdoor plants in full sun for best growth and pad development.