Repotting Thanksgiving Cactus
Is your Thanksgiving cactus looking cramped or struggling to grow? Repotting might be exactly what it needs to thrive again. These beautiful holiday plants typically require repotting every 3-5 years, giving their roots fresh soil and more space to grow. The best time to repot your Thanksgiving cactus is in winter after it finishes flowering, or in early spring when the plant enters its active growth phase.
While Thanksgiving cacti are relatively low-maintenance, they do give clear signs when they need a new home. Look for roots growing through drainage holes, slowed growth, or compacted soil that retains too much moisture. When you decide to repot, choose a container just 2 inches larger than the current one with good drainage holes, and use well-draining cactus or succulent soil.
Your plant may need a couple of weeks to adjust after repotting, so don’t worry if it seems a bit stressed at first. Keep it in indirect light and maintain a regular watering schedule, allowing the top inch of soil to dry between waterings.
Key Takeaways
- Thanksgiving cacti need repotting every 3-5 years, ideally after flowering or in early spring.
- Choose a pot only 2 inches larger than the current one with drainage holes and use well-draining soil.
- Your plant may take 2-3 weeks to recover from repotting, so maintain consistent care during this adjustment period.
Understanding Your Thanksgiving Cactus
Thanksgiving cactus (Schlumbergera truncata) has specific needs and characteristics that set it apart from other houseplants. Knowing these details helps you provide the right care and enjoy its beautiful blooms.
Distinct Features
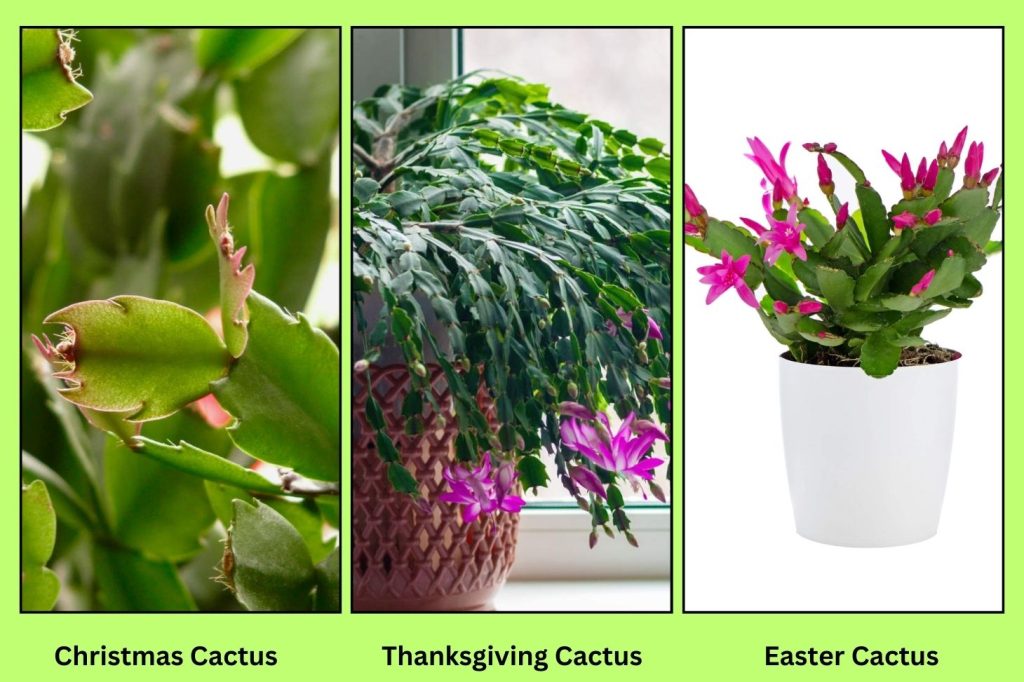
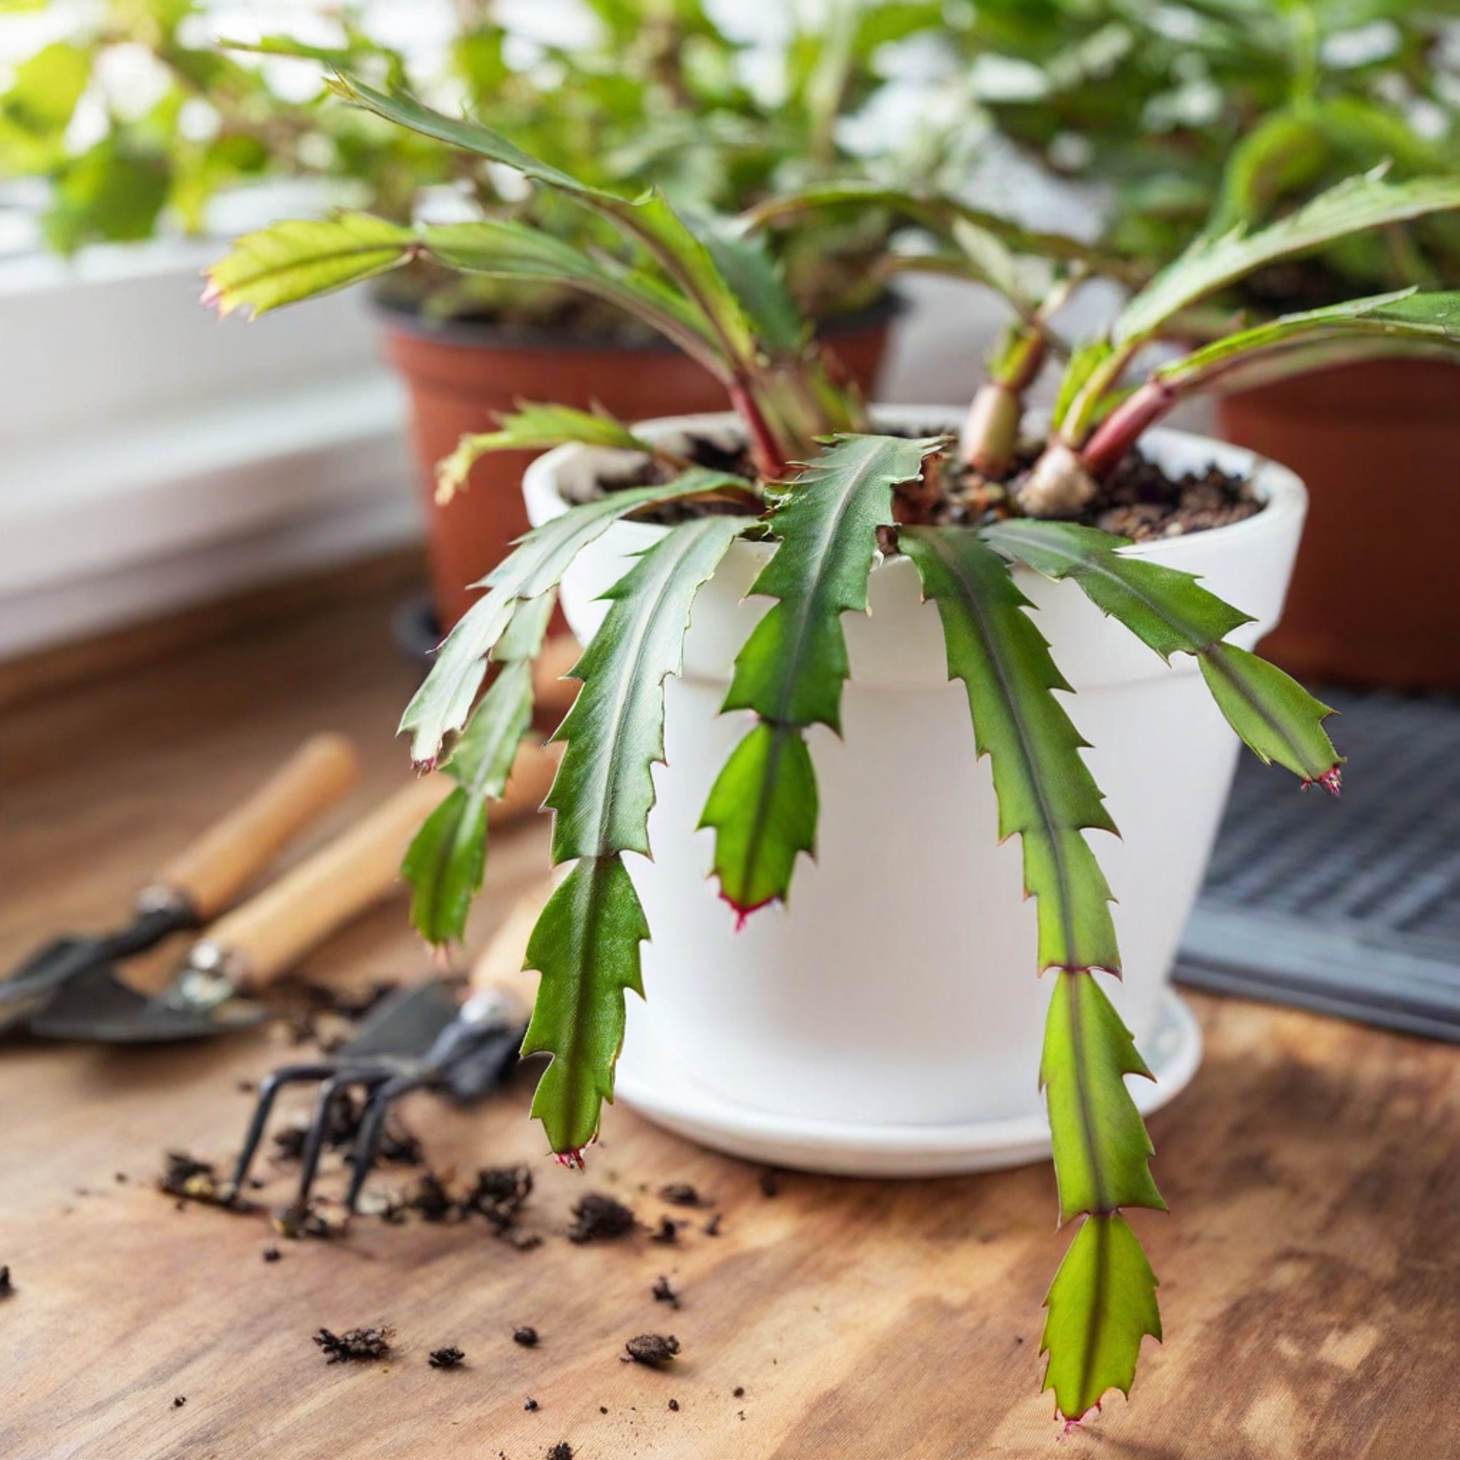
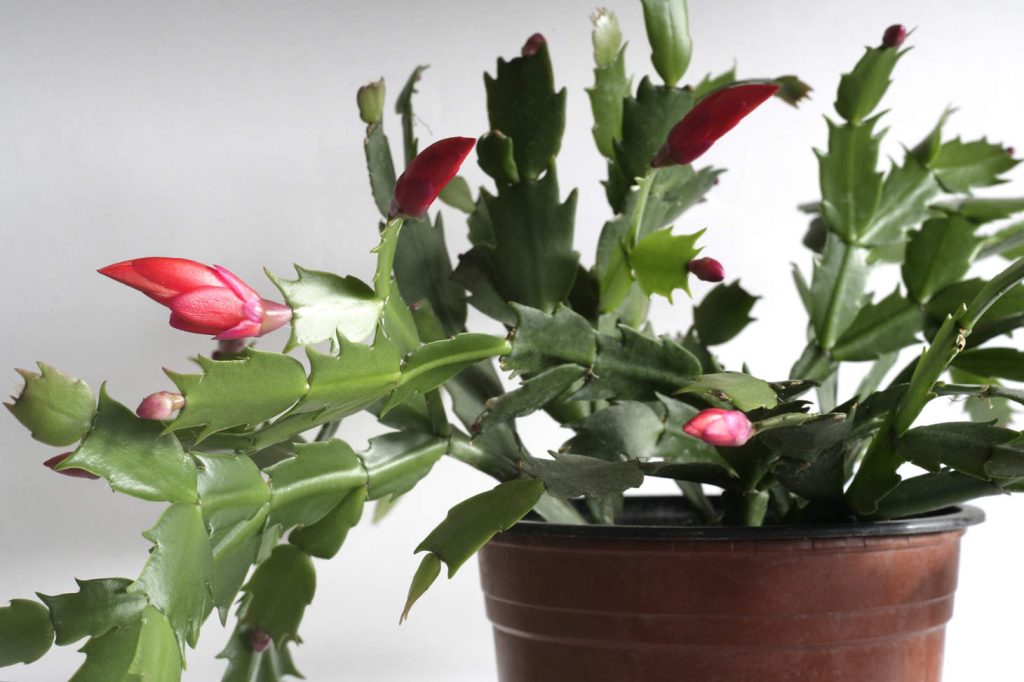
Thanksgiving cactus is often confused with Christmas cactus (Schlumbergera bridgesii) and Easter cactus (Hatiora gaertneri), but each has unique traits. The Thanksgiving cactus has pointed, claw-shaped projections on its leaf segments, unlike the more rounded edges of Christmas cactus.
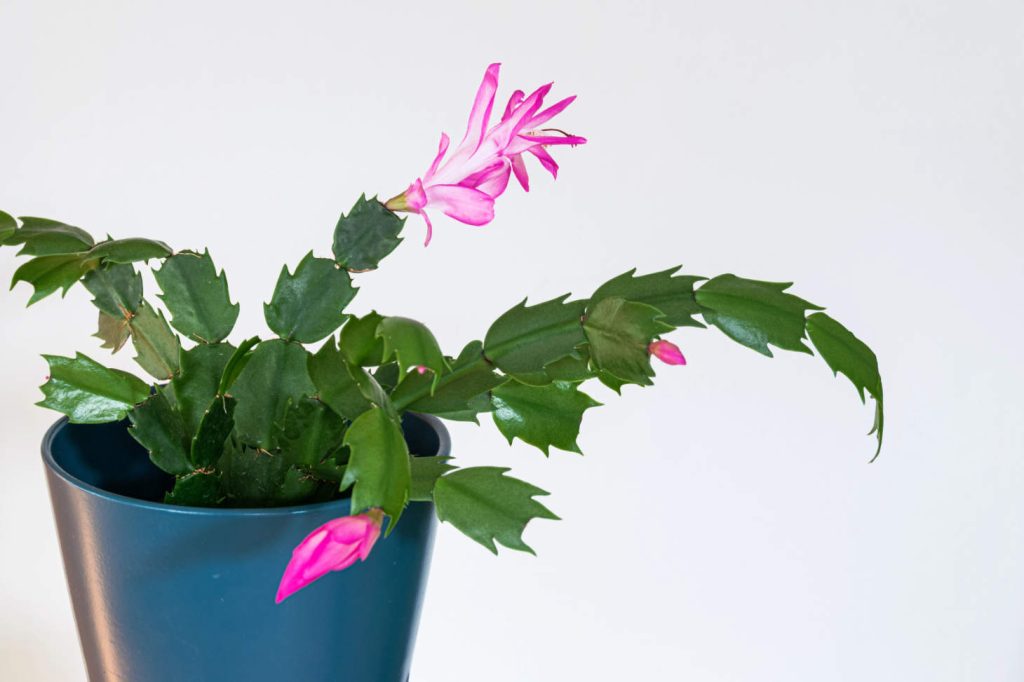
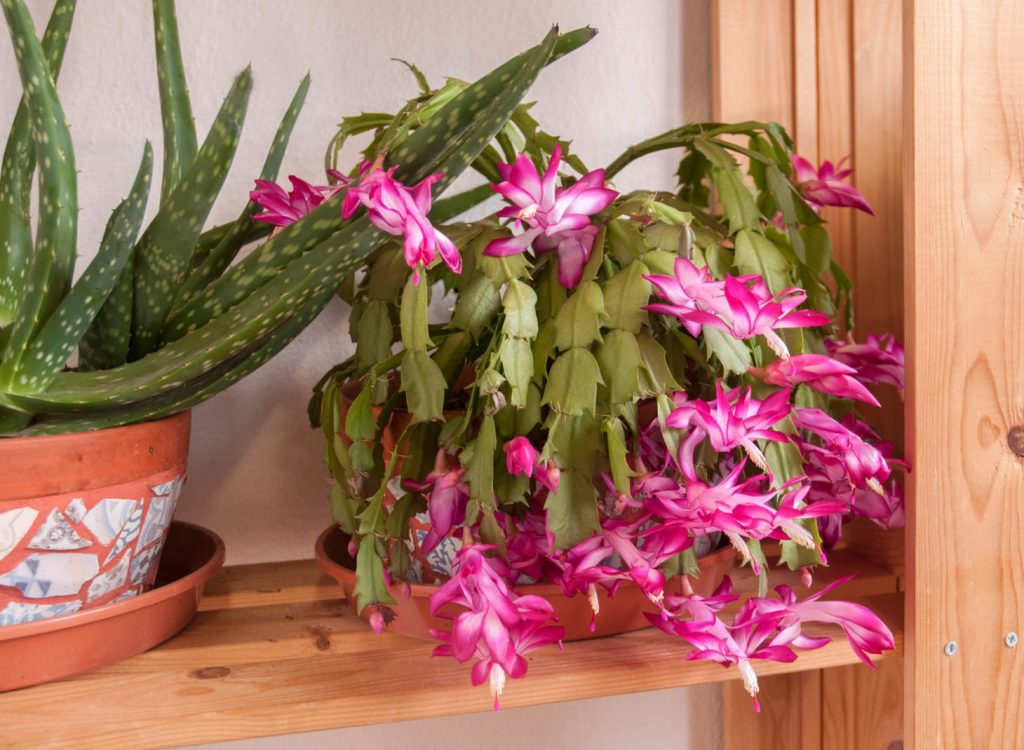
Thanksgiving cactus typically blooms from mid-November to December, aligning with the Thanksgiving holiday. The flowers come in vibrant shades of pink, red, white, or yellow and appear at the ends of the leaf segments.
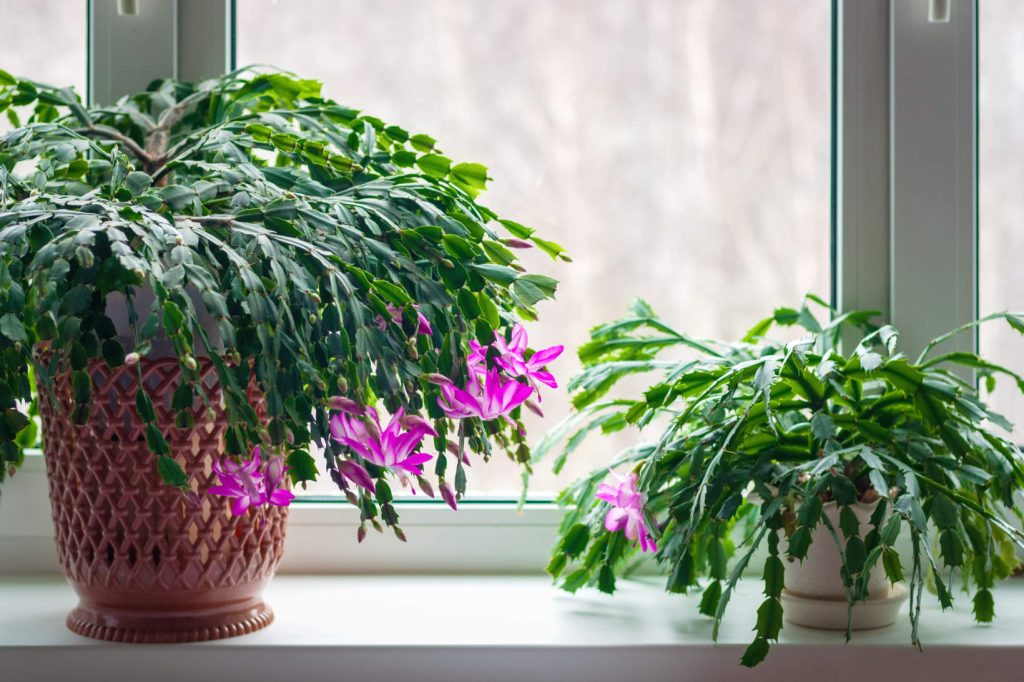
The plant has flat, segmented stems that grow in an arching or cascading pattern. These stems are not true leaves but modified stems called cladodes that perform photosynthesis.
Growth Patterns
Thanksgiving cactus follows a distinct growth cycle throughout the year. During spring and summer, your plant focuses on producing new segments and strengthening its structure.
In fall, it enters a pre-flowering stage. This is when the plant needs specific light and temperature conditions to set buds. Once buds form, they develop over several weeks before opening into full blooms.
After flowering, the plant enters a rest period. Growth slows down significantly during winter. This is normal and shouldn’t cause concern.
The Thanksgiving cactus can live for decades when properly cared for. Many plants become family heirlooms, passed down through generations.
Preparation for Repotting
Getting ready to repot your Thanksgiving cactus requires timing the process correctly, selecting an appropriate container, and using the right soil mix. These preparations will help ensure your plant thrives after transplanting.
When to Repot
Thanksgiving cacti benefit from repotting every three to four years. The best time is after they finish flowering, typically in late winter or early spring. This timing gives the plant time to recover before its next blooming cycle.
Look for signs that your cactus needs repotting. These include roots growing through drainage holes, slowed growth, or the soil drying out too quickly. If your plant appears crowded in its current pot, it’s definitely time for a change.
Don’t repot during the blooming period as this can cause flowers to drop and stress the plant unnecessarily. Wait until flowering has completely finished before disturbing the roots.
Choosing the Right Pot
Select a pot that’s about two inches larger in diameter than the current container. This provides enough room for growth without overwhelming the plant with too much soil.
Make sure your new pot has drainage holes. This is crucial for Thanksgiving cacti, as they’re susceptible to root rot if water collects at the bottom of the pot.
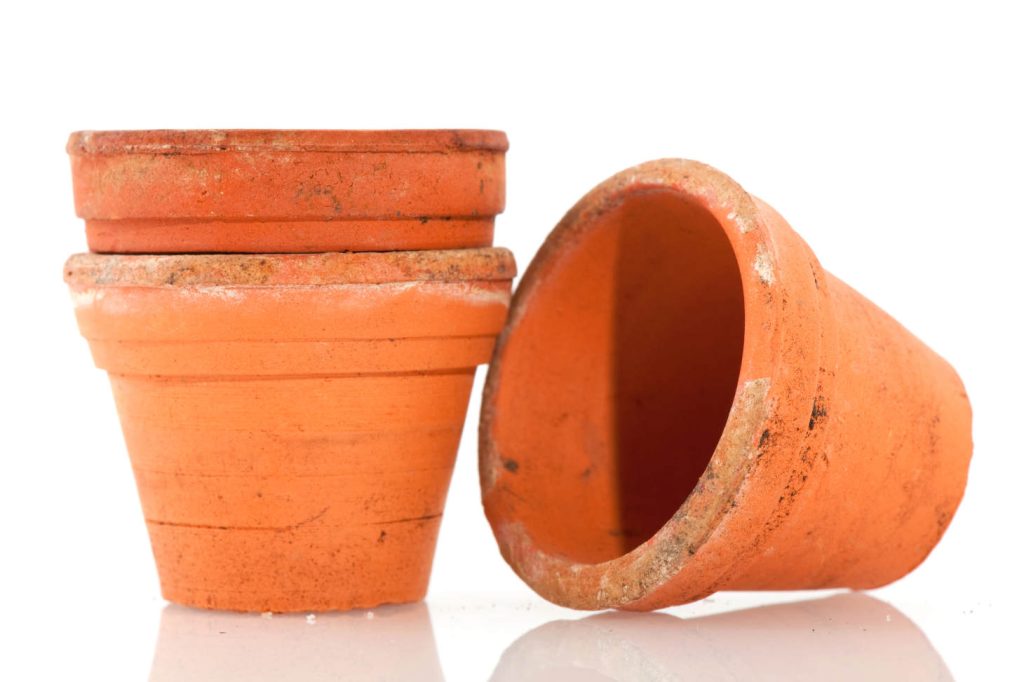
Consider the pot material carefully. Clay pots allow soil to breathe and dry more evenly, while plastic pots retain moisture longer. If you tend to overwater, clay might be the better choice.
The pot’s weight matters too, especially for larger plants. Thanksgiving cacti can become top-heavy, so choose a container with a sturdy base to prevent tipping.
Selecting a Suitable Potting Mix
Thanksgiving cacti need a well-draining potting mix that does not retain too much moisture.
Combine three parts standard potting soil with two parts perlite or vermiculite for a well-draining, easy potting mix. Alternatively, a more advanced mix can be made with equal parts compost, perlite or vermiculite, and peat.
This combination provides excellent drainage and does not retain excess moisture. Avoid regular garden soil, which is too dense and can lead to root problems.
For added nutrients after repotting, mix a small amount of compost or a slow-release fertilizer specifically formulated for cacti into the soil, but wait several weeks after repotting to avoid root shock.
Pre-moisten the potting mix slightly before use. This prevents it from absorbing water away from the roots immediately after repotting.
The Repotting Process
Repotting your Thanksgiving cactus properly ensures its continued health and blooming. The process requires careful handling of the plant’s delicate segments and attention to specific soil and pot requirements.
Step-by-Step Guidance
Choose the right pot – Select a container only slightly larger than the current one, about 1-2 inches wider. Thanksgiving cacti prefer to be slightly rootbound.
Prepare proper soil – Mix three parts standard potting soil with two parts perlite or vermiculite to create well-draining soil. This prevents root rot, which these plants are prone to developing.
- Remove the plant – Gently turn the pot on its side and carefully slide out the cactus. If it’s stuck, tap the sides or run a knife around the edge.
- Loosen the root ball – Carefully break up compacted roots with your fingers. Remove any dead or rotting roots with clean scissors.
Position in new pot – Place the cactus at the same depth as before, with the top of the root ball about 1/2 inch below the pot rim.
Add soil – Fill around the roots with your prepared soil mix, gently pressing to remove air pockets.
Aftercare Post-Repotting
- Watering: Water the newly repotted Thanksgiving cactus when the top inch of soil feels dry. This allows any damaged roots to heal and prevents rot. When you water, do so thoroughly until it drains from the bottom.
- Placement: Keep your repotted plant in bright indirect light but away from harsh sun. Avoid moving it frequently as it adjusts to its new home.
- Humidity: Thanksgiving cacti enjoy higher humidity than true desert cacti. Place on a humidity tray or group with other plants if your home is dry.
Monitor your plant for the first few weeks after repotting. Slight drooping is normal initially, but the plant should perk up within 2-3 weeks. Hold off on fertilizing for about a month to avoid stressing the plant.