How to Root a Christmas Cactus
If you want more Christmas cactus plants for your home or as gifts, propagating them is easy and does not require much experience. You can root Christmas cactus cuttings in water or soil by letting the ends dry for a few days, then placing them in a well-draining potting mix until new roots form. With the right care, these popular holiday plants will start growing roots quickly and become healthy new plants.
Learning how to root a Christmas cactus not only saves money but also helps keep your plant collection growing strong. The simple steps and minimal supplies make this a project almost anyone can do, even if you are new to houseplants.
Key Takeaways
- Use healthy cuttings and let them dry before rooting.
- Choose a loose, well-draining mix to help roots grow.
- Keep the cuttings moist and watch for new growth.
Choosing and Preparing Christmas Cactus Cuttings
To successfully root a Christmas cactus, you need to start with the right stem cuttings. Preparing each cutting carefully helps your new plants grow healthily and resist disease.
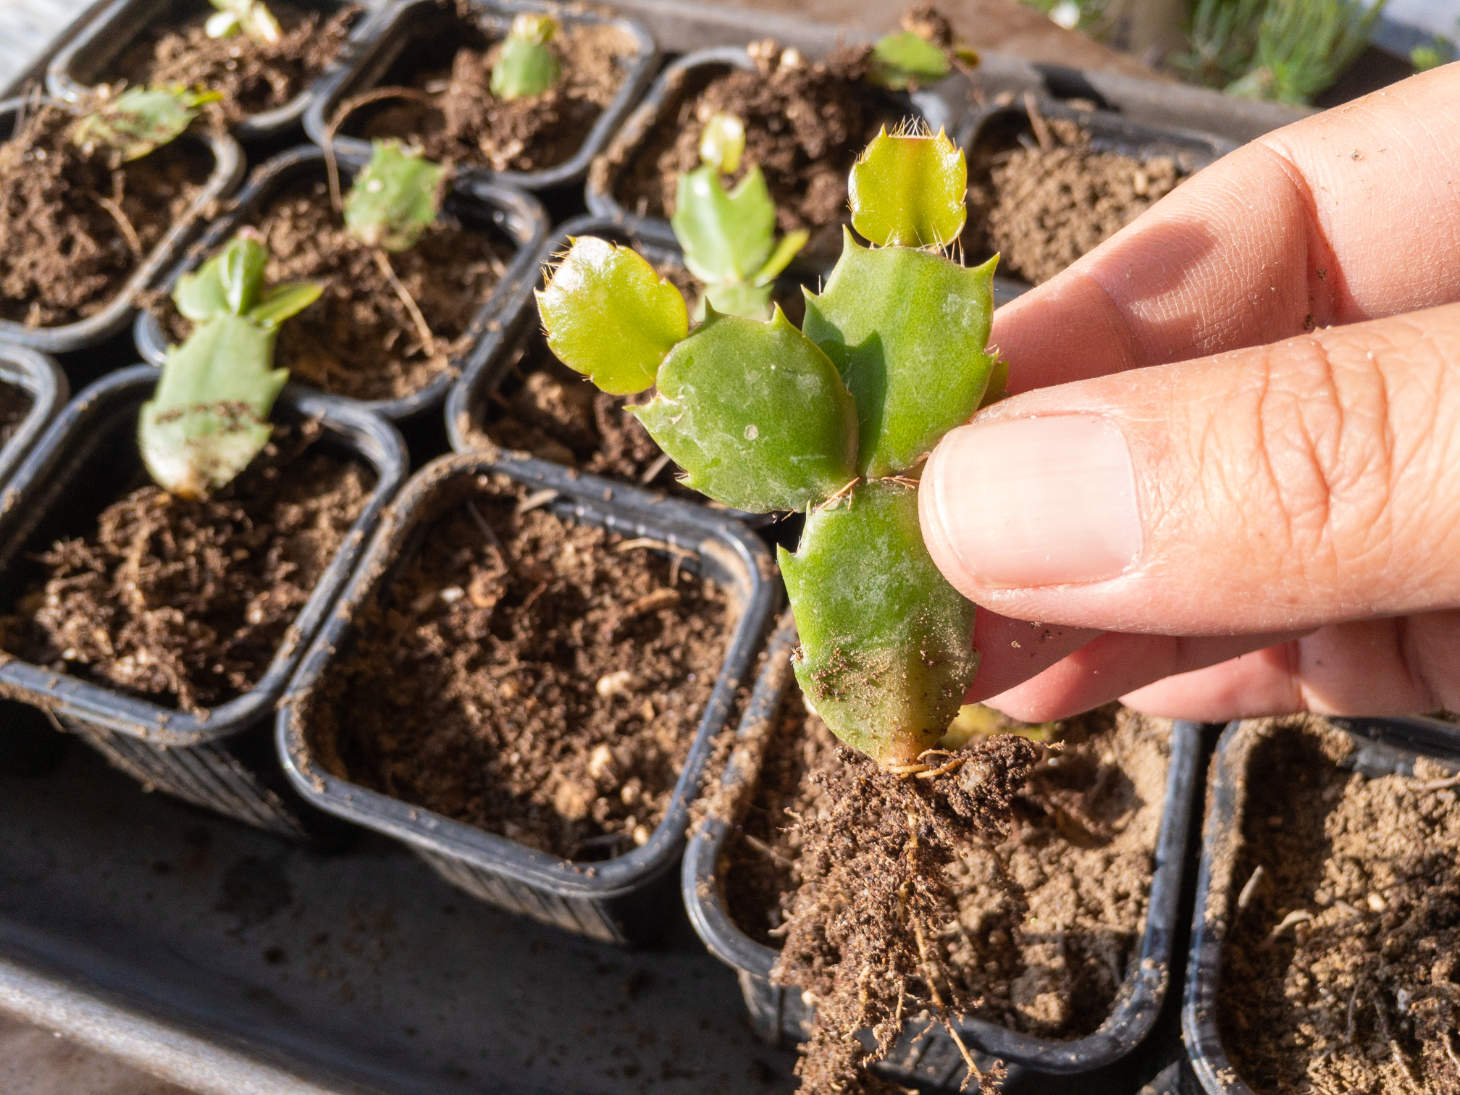
Selecting Healthy Stem Cuttings
For best results, pick cuttings from a healthy Christmas cactus (Schlumbergera bridgesii). Look for stems that are firm, green, and free from rot or spots. Avoid using sections that look wilted or have been damaged by pests.
Cut a segment of 2–5 joined pads (also known as cladodes). Use clean, sharp scissors or pruning shears. This lowers the risk of spreading germs to your plant. New growth is ideal because it usually roots faster and stays healthier.
After cutting, remove any flowers, buds, or wilted edges. Take only what you need and leave enough of the parent plant so it won’t get stressed.
Handling Broken and Damaged Stems
Broken or damaged stems can still be used for propagation if they are mostly healthy. Examine each broken stem closely. Trim off any mushy, brown, or shriveled areas until you reach solid, green tissue.
Always use sterile scissors or a sharp knife. This reduces the chance of introducing mold or bacteria to the cutting. If a stem looks dry but firm, it can often root just as well as a freshly cut stem.
Never use sections that smell foul, show rot, or are slimy. These are signs of infection and will not root, spreading problems instead.
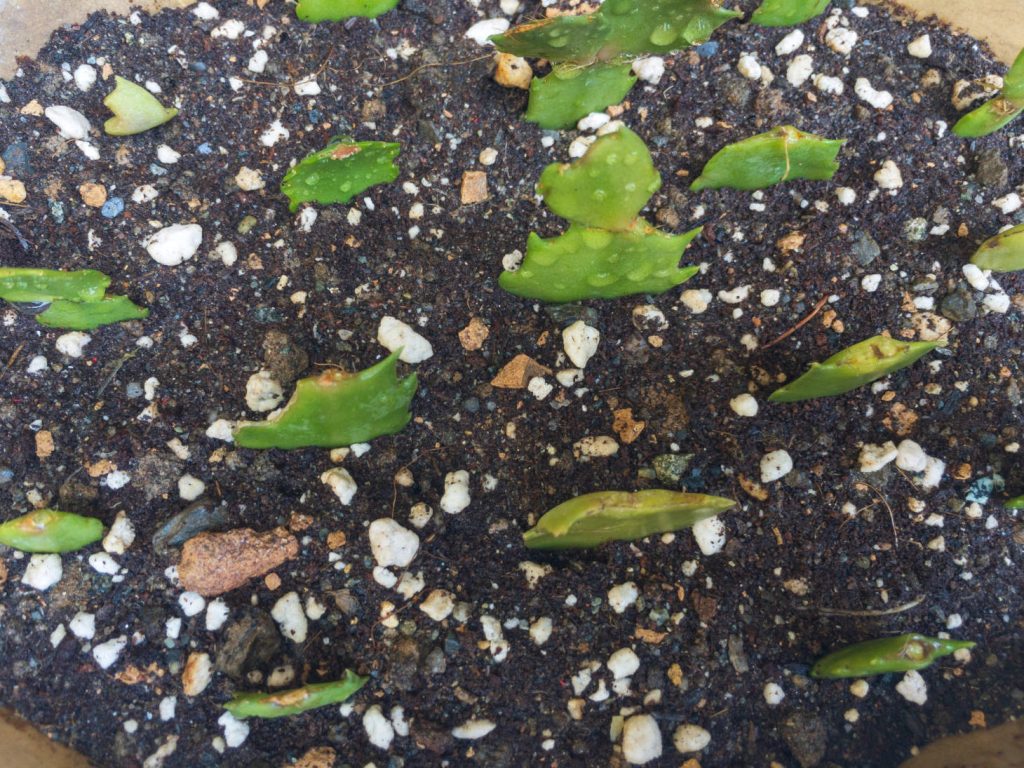
Allowing Cuttings to Callus
After you take your cuttings, let them dry and callus before planting. Place the stem cuttings on a paper towel or clean plate. Keep them in a dry place out of direct sunlight.
Leave the cuttings to callus for 1 to 2 days. This forms a thin, protective layer over the cut surface. The callus helps prevent rot and supports root growth when you plant the segments.
Only after the ends feel firm and dry to the touch should you move on to rooting. This simple step gives your Christmas cacti a much better chance to grow successfully.
Soil and Pot Selection for Rooting
Choosing the right potting soil and container is important for successful Christmas cactus propagation. Your goal is to provide healthy, moist conditions for root growth while also preventing water from building up in the pot.
Choosing the Right Potting Mix
A Christmas cactus needs a light and airy potting mix. Use a well-draining commercial cactus mix, or make your own blend. To do this, mix 2 parts coco (or peat moss), 1 part potting soil, and 1 part coarse sand, perlite, or vermiculite. This mix gives roots both air and moisture without staying soggy.
Avoid heavy or clay-based soils. These hold too much water and can lead to root rot.
Keep the soil slightly moist but not wet. After inserting the cuttings, water just enough to keep the top layer from drying out. Check soil moisture with your finger every few days.
Ensuring Good Drainage
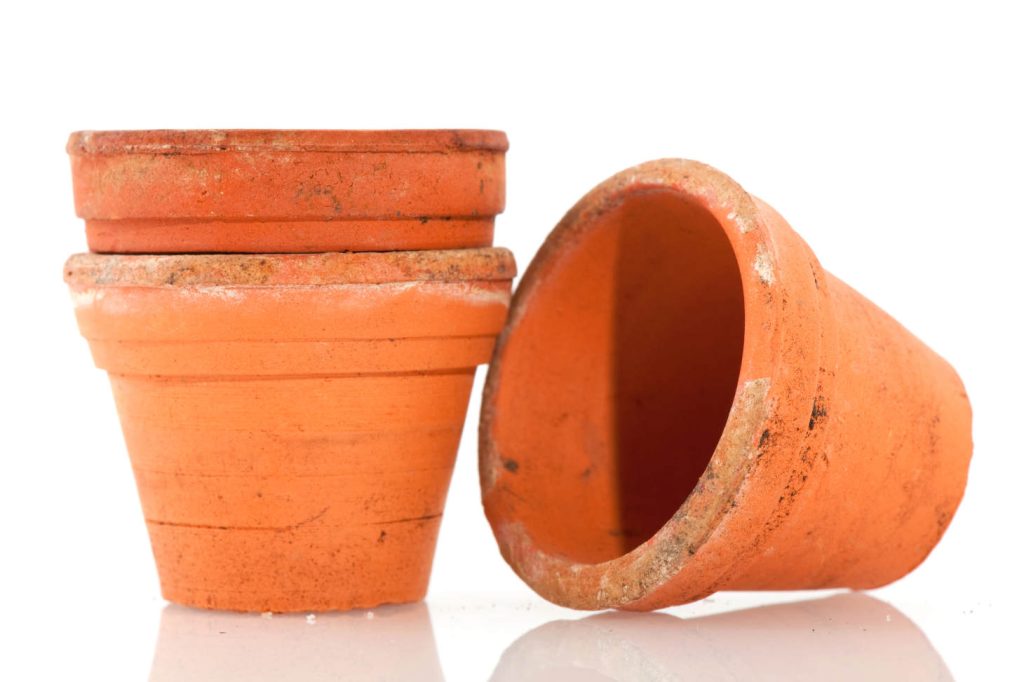
Always use a pot with at least one drainage hole at the bottom. This helps extra water escape and protects your cuttings from sitting in soggy soil. Plastic, terracotta, or ceramic pots are all fine, but drainage is the key.
During gardening, set your pot on a tray or saucer that lets water drain away. Each time you water, let any extra water run out of the bottom. If water stays pooled in the saucer, empty it so the soil does not get oversaturated.
Rooting and Propagation Techniques
Rooting a Christmas cactus cutting is simple if you follow the right steps. Paying attention to the way you plant the cuttings, water them, and provide indirect light will help you get healthy new plants.
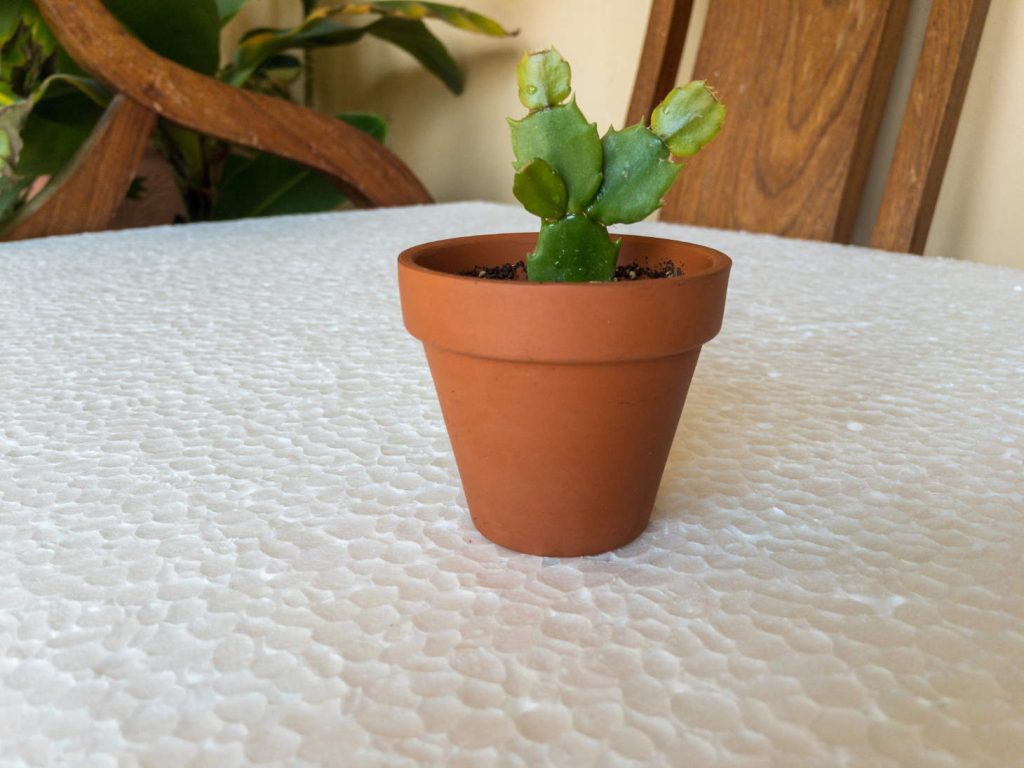
Planting the Cuttings
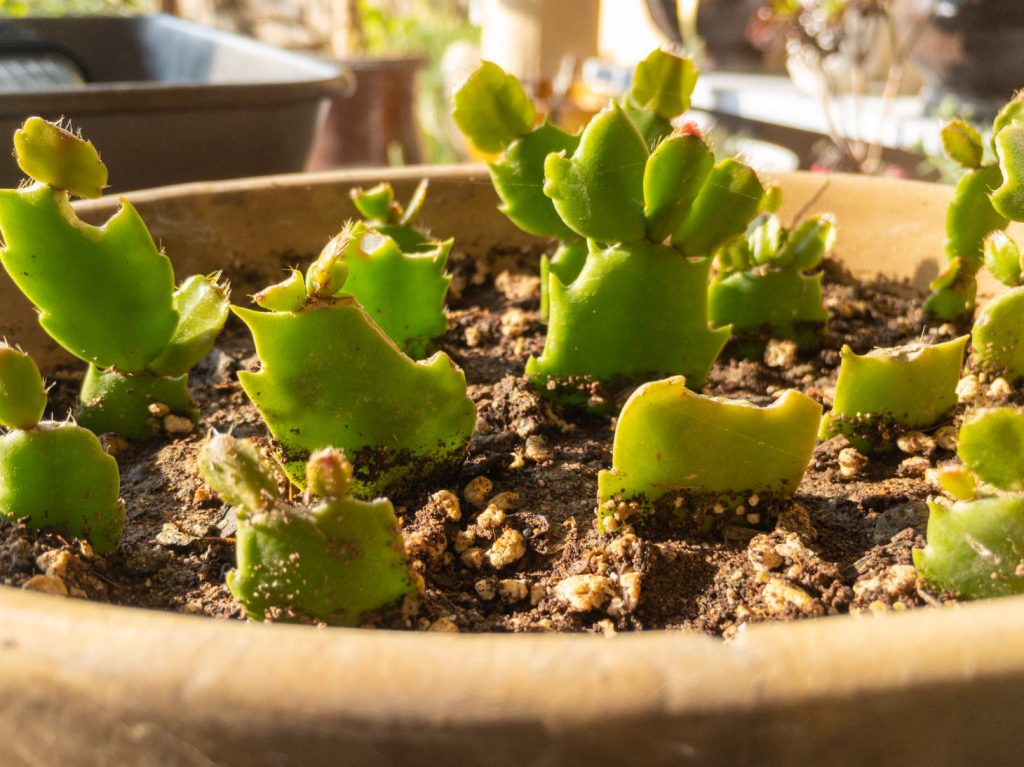
Make a small hole in the soil, place the cutting about an inch deep, and press the soil gently around the base.
Do not bury the whole cutting. Only the bottom half of the cutting, including the lowest one or two leaf segments, should be buried in the soil. You can also root the cutting in water by placing the cut end in a small glass of water, but soil is most common.
Watering and Care During Rooting
After planting the cutting, water the soil lightly. The soil should be damp but not soggy. Waterlogged soil can cause the stem to rot before roots form.
During the first few weeks, check the soil for dryness and mist lightly as needed. If rooting in water, change the water every few days to keep it fresh. Roots usually begin to form in 2–4 weeks, so patience is key.
Once you see new growth or small roots, water the plant the same way as a mature Christmas cactus. Water when the top inch of soil feels dry, but do not let the plant dry out completely between waterings.
Indirect Light and Environmental Conditions
Place your potted cutting in a bright location with indirect sunlight. Avoid direct sunlight, as this can dry out or burn the delicate cutting.
Aim for a temperature between 65°F and 70°F. Keep the plant away from cold drafts, vents, and heaters. Humidity helps the rooting process, so a room with humidity between 50-60% is ideal.
If your home is very dry, place a tray of water near the plant or loosely cover the cutting with a clear plastic bag to boost humidity. Remove the bag occasionally to let air circulate and prevent mold.