How to Transplant a Succulent?
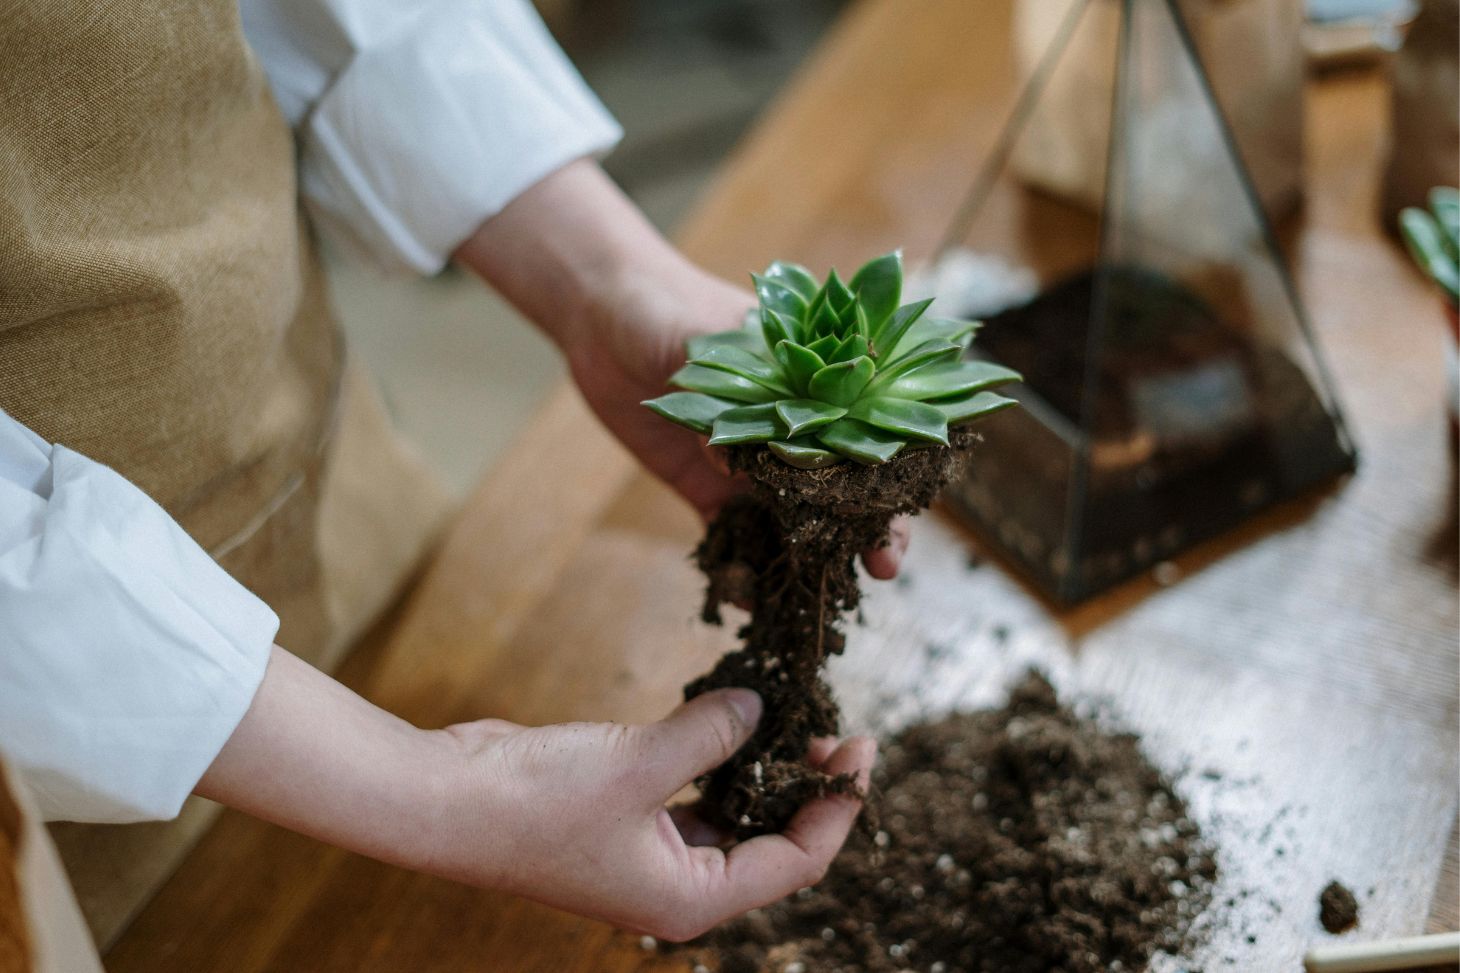
Succulents are popular plants that add a touch of green to any space. If you’ve noticed your succulent outgrowing its pot or looking a bit cramped, it might be time for a transplant. To transplant a succulent, gently remove it from its current pot, shake off excess soil, and place it in a new container with well-draining soil at the same depth as before.

Moving your succulent to a new home can help it thrive and grow. The process is simple, but it’s important to be gentle with these water-storing plants. You’ll need to pick the right time, usually spring or summer, when your succulent is actively growing.
Before you start, gather your supplies. You’ll need a new pot with drainage holes, cactus or succulent soil mix, and clean tools. Wait a few days after transplanting your succulent before watering. This allows the roots to settle and reduces the risk of root rot.
Understanding Succulents and Their Needs
Succulents are unique plants that store water in their leaves and stems. They need special care when it comes to transplanting. Knowing when and how to move them is key to keeping them healthy.
Identifying the Right Time to Transplant
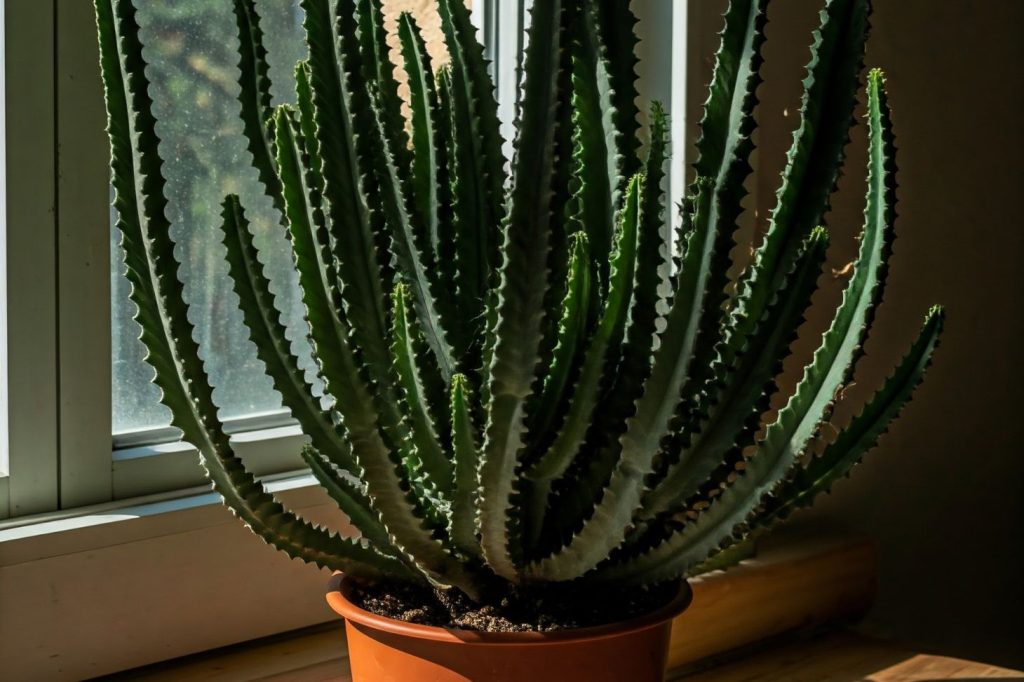
Spring is the best time to transplant succulents. This is when they start to grow actively. You can also transplant in early fall if you missed the spring window. Avoid moving succulents in winter. They grow slowly during this time and might not adjust well to a new home.
Look for these signs that it’s time to transplant:
- Roots growing out of drainage holes
- Plant looking too big for its pot
- Soil drying out very quickly
- Succulent leaning to one side
When you see these signs, it’s time to give your plant a new home.
Recognizing Signs of an Unhappy Succulent
Succulents show when they’re not happy. Watch for these warning signs:
- Yellowing or dropping leaves
- Soft, mushy stems
- Stretching or becoming leggy
- Slow growth or no growth at all
These could mean your plant needs better soil, a bigger pot, or different watering. Check the roots too. Healthy roots are white or light-colored. Brown or black roots might be rotting.
If you see any of these signs, it’s time to act. Transplanting to fresh soil with good drainage can help. Make sure the new pot has drainage holes. This lets extra water escape and keeps roots healthy.
Choosing the Right Soil and Container
The right soil and container are key for happy succulents. Good drainage and the proper mix will help your plants thrive in their new home.
Selecting a Container with Proper Drainage
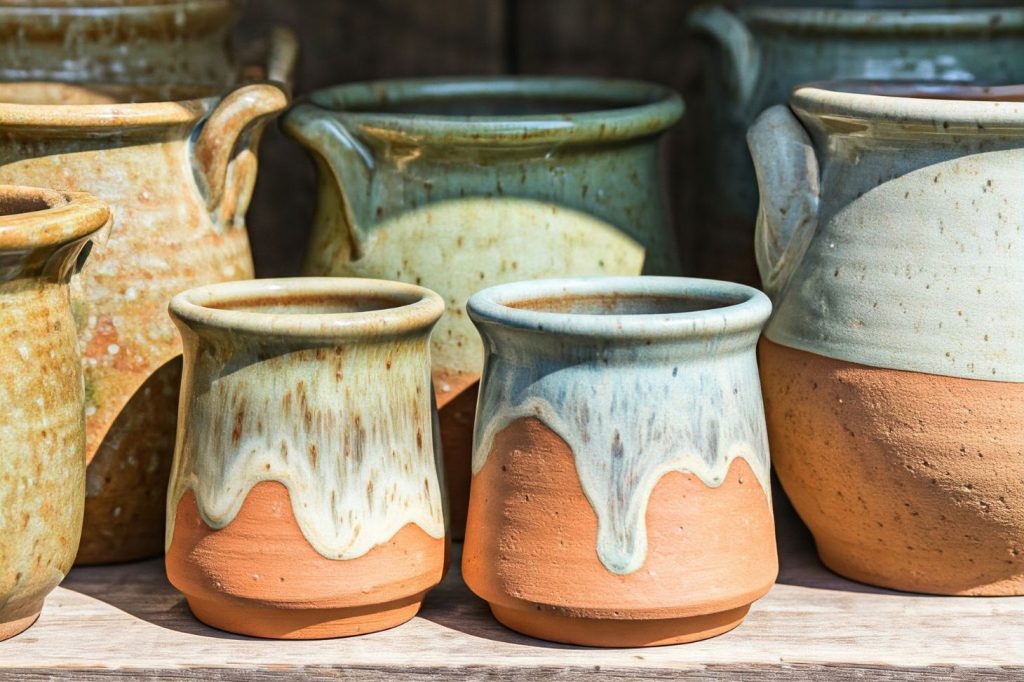
Pick a pot with drainage holes. This stops water from pooling and rotting the roots. Clay or ceramic pots work well. They let air flow and help dry out the soil. Plastic pots are okay too, but may hold more water.
Make sure the pot is the right size. Too big can lead to overwatering. Too small can stunt growth.
Here’s a general guideline:
- Ideal Width: The ideal pot width should be approximately 10% wider than the diameter of your succulent.
- Ideal Depth: The pot’s depth should also be about 10% greater than the plant’s height.
- Shallow vs. Deep: Always opt for a shallow pot over a deep one, even if the depth is within the 10% guideline.
Real-life Examples:
- 2-inch Succulent: The ideal pot size would be between 2.5 inches (your best option) and 4 inches. Only go with this larger 4-inch sized pot if you cannot find a smaller one.
- 4-inch Succulent: The ideal pot size would be between 4.5 inches (your best option) and 6 inches. Only go with this larger 6-inch sized pot if you cannot find a smaller one.
If you love a pot without holes, drill some! Or use it as a cover pot. Put your plant in a plain pot with holes, then set it inside the pretty one.
Mixing the Ideal Soil for Succulents
Regular potting soil is too heavy for succulents. It holds too much water. Instead, make a mix that drains fast. Start with cactus mix as your base. It’s made for desert plants.
Add some extras to boost drainage:
- Perlite: Little white bits that look like styrofoam
- Pumice: Light, porous volcanic rock
- Coarse sand: Not the fine stuff from the beach
A good recipe is:
- 3 parts cactus mix
- 2 part coarse sand
- 1 part perlite or pumice
While you can create your own succulent soil blend, it can be a bit of a challenge.
You’d need to find and source individual components like cactus mix, perlite, pumice, and coarse sand. This can involve buying in bulk, which might result in leftover materials taking up valuable space and potentially going to waste.
Wouldn’t it be easier to simply use a pre-made succulent soil blend specifically formulated for the unique needs of these plants? Our high-performance succulent soil contains the perfect balance of ingredients.

Our blend ensures excellent drainage, promotes healthy root growth, and provides the ideal environment for your succulents to flourish.
See that? You can enjoy the peace of mind knowing your succulents are thriving in the best possible soil without the hassle of mixing your own.
The Transplanting Process Step-by-Step

Transplanting a succulent is easy when you follow the right steps. You’ll need to carefully remove the plant, prep its new home, and get it settled in properly.
Extracting the Plant Safely
Start by watering your succulent a few days before you plan to move it. This helps keep the roots together during the process. When you’re ready, gently squeeze the pot to loosen the soil. Turn it sideways and slowly slide out the plant.
Shake off extra dirt and check the roots. If they’re tightly packed, use your fingers to loosen them up a bit. Trim any dead or rotting roots with clean scissors.
If the plant is stuck, you can run a knife around the inside of the pot to free it. Be careful not to damage the roots or leaves as you work.
Preparing the New Home
Pick a pot that’s slightly bigger than the old one. Make sure it has drainage holes at the bottom. This stops water from pooling and causing root rot.
Fill the bottom third of the pot with well-draining succulent soil mix. This special soil drains well and gives your plant the nutrients it needs. Pack it down lightly to create a firm base.
Make a small hole in the center of the soil. It should be big enough to fit the plant’s root ball comfortably.
Positioning and Planting
Lower your succulent into the hole. The top of the root ball should sit just below the rim of the pot. Add or remove soil as needed to get the right height.
Once it’s in place, fill in around the roots with more soil. Gently press down to remove air pockets. Leave a little space at the top for watering.
Don’t water right away. Give your plant a few days to settle in its new home. This lets any damaged roots heal before they get wet.
Place your newly potted succulent in a spot with the right amount of light. Most succulents like bright, indirect sunlight. They’ll soon start growing in their new space!
Post-Transplant Care and Adjustments

Your succulent needs some special care after transplanting. Focus on careful watering and keeping an eye on how it’s doing. This will help your plant settle into its new home.
Watering After Transplanting
Wait a few days before you water your newly transplanted succulent. This gives the roots time to heal. It’s important to ensure proper drainage and avoid overwatering. Succulents don’t like sitting in water.
Water only when the soil feels dry. Stick your finger about an inch into the soil. If it’s dry, it’s time to water. Pour water at the base of the plant until it drains out the bottom.
Don’t water again until the soil dries out. This might take a week or two, depending on your climate. Too much water can lead to root rot.
Monitoring for Growth and Health
Keep a close eye on your succulent for the first few weeks. Look for signs of new growth, which means it’s happy in its new spot. New leaves or a brighter color are good signs.
Check the leaves regularly. Soft or mushy leaves might mean you’re watering too much. Yellow or dropping leaves could be a sign of stress from the move.
Don’t fertilize right away. Wait about a month to let the plant settle in. Then use a low-strength fertilizer made for succulents.
If you see any issues, act fast. Move the plant to a different spot or adjust your care routine. With the right care, your transplanted succulent will thrive in its new home.
Preventing and Dealing with Common Issues

Transplanting succulents can come with some challenges. Here are key ways to prevent and handle common problems that may pop up.
Identifying and Treating Pests
Keep an eye out for tiny bugs on your succulents. Mealybugs are a common pest. They look like small white cottony spots on leaves and stems.
To get rid of mealybugs:
- Use a cotton swab dipped in rubbing alcohol
- Gently wipe the bugs off your plant
- Repeat every few days until they’re gone
For other pests, try these tips:
- Spray plants with water to knock off bugs
- Use neem oil as a natural pesticide
- Keep your succulents away from infected plants
Recognizing and Preventing Disease
Diseases in succulents often start as spots or discoloration on leaves. Root rot is a big problem caused by too much water.
Signs of root rot:
- Soft, mushy leaves
- Black or brown roots
- Foul smell from the soil
To prevent diseases:
- Don’t overwater
- Use well-draining soil
- Give plants enough space and air flow
- Clean your tools between plants
If you see signs of disease, remove affected parts with clean scissors. Repot in fresh soil if needed.
Managing Overwatering and Drainage Problems
Succulents hate sitting in wet soil. It leads to root rot and other issues. Good drainage is key to happy plants.
Tips for proper watering:
- Water deeply but less often
- Let soil dry out between waterings
- Use pots with drainage holes
To improve drainage:
- Mix perlite or sand into your soil
- Use terra cotta pots that breathe
- Add a layer of gravel at the bottom of pots
If soil gets compacted, gently loosen it with a fork. This helps water flow through better. Always wear gloves when handling soil to keep your hands clean.
Propagating New Succulents from Transplants

You can make more succulents from your existing plants. This is called propagation. It’s a fun way to grow your collection without buying new plants.
Taking Successful Stem Cuttings
To start, pick a healthy stem on your succulent. Cut it cleanly with sharp scissors. The cutting should be at least 2 inches long, but can also be up to 5 inches long for better results.
Let the cut end dry for a day or two. This helps prevent rot when you plant it.
Once dry, stick the stem in some cactus soil. Water it lightly. Put it in a spot with bright, indirect light.
Caring for New Cuttings
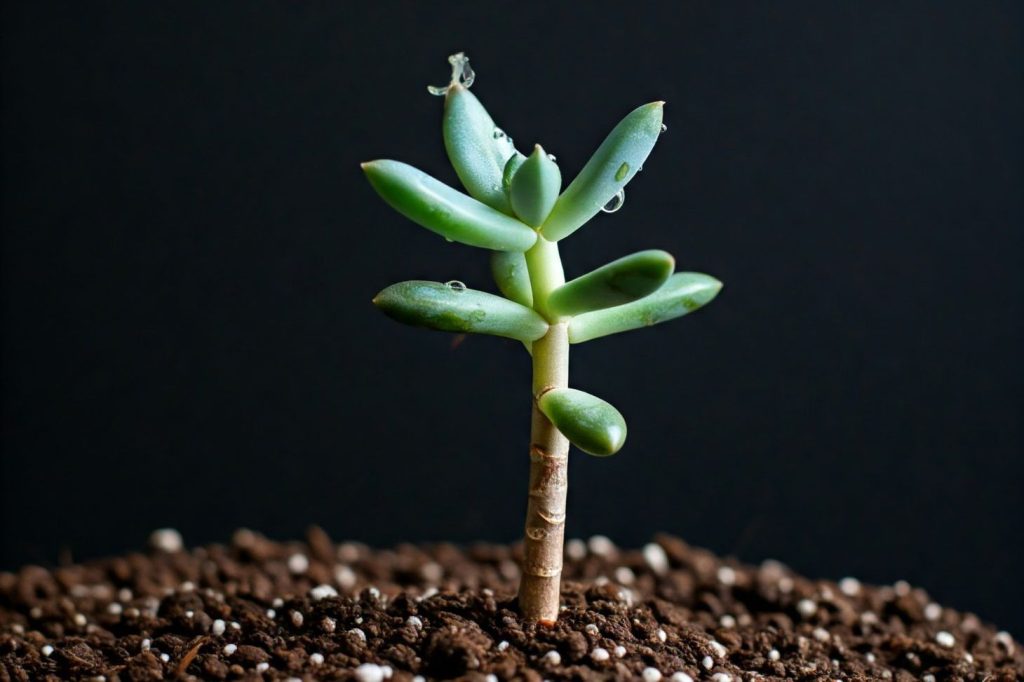
Keep the soil slightly damp for your new cutting. Don’t overwater – succulents hate soggy soil.
Be patient. It can take a few weeks to see new growth. When you do, it means roots are forming too.
After 2-3 weeks, gently tug the succulent cutting to check for root development. If you feel resistance, it has rooted. Now you can care for it like your other succulents.
Remember, not all cuttings will survive. But with practice, you’ll get better at making new plants this way.
Exploring the Diversity of Succulents

Succulents come in many shapes, sizes, and colors. You’ll find a wide range of varieties to suit your taste and growing conditions.
Getting to Know Different Varieties
Echeveria plants have rosette shapes and come in soft colors like pink and blue-green. You might like their flower-like appearance.
Haworthia are small, perfect for windowsills. They often have white stripes or spots on dark green leaves.
Aloe plants are famous for their healing gel. They have thick, pointed leaves and can grow quite large.
Euphorbia come in weird shapes. Some look like cacti, but they’re not related.
Aeonium have big rosettes on woody stems. They can be green, purple, or variegated.
Crassula includes the popular jade plant. These are easy to grow and can become tree-like.
Senecio have unique forms. String of pearls is a fun hanging plant with round leaves.
Tips for Planting and Arranging Diverse Types
Mix and match colors and shapes for eye-catching displays. Put tall plants in back, short ones in front.
Use odd numbers of plants for a natural look. Groups of three or five work well.
Plant similar types together. They’ll have the same care needs.
Try making a mini landscape with rocks and sand. Add tiny succulents for a desert scene.
Don’t crowd your plants. Leave room for growth and air flow.
Use colorful pots to complement your succulents. Terracotta is great for most types.
Remember, some succulents can get big. Plan for their adult size when arranging.
Additional Succulent Care Tips

Proper tools and seasonal adjustments are key to keeping your succulents healthy. These tips will help your plants thrive year-round.
The Right Tools for Succulent Care
Gloves protect your hands when working with prickly succulents. Gardening gloves are a must for handling spiky varieties like aloes.
A window screen can shield delicate plants from harsh sunlight. Place it between your succulent and the window on hot days.
Chopsticks or an old butter knive work great for removing debris from tight spaces between leaves. They’re also handy for gently loosening soil.
Seasonal Care Variations
In spring and summer, your succulents need more water and food. Fertilize every 2-4 weeks with a balanced, water-soluble fertilizer.
Move outdoor plants to shadier spots during heat waves. This prevents sunburn on their leaves.
In fall, cut back on watering as growth slows down. Stop fertilizing to prepare plants for winter dormancy.
During winter, water sparingly and only when the soil is completely dry. Keep plants away from cold drafts and heaters.
Adjust light exposure seasonally. Most succulents prefer bright, indirect light year-round. Some may need grow lights in darker months.
Frequently Asked Questions

Transplanting succulents can be tricky. Here are some common questions and tips to help you move your plants safely.
What’s the best way to transplant a succulent indoors?
Choose a pot with drainage holes. Use cactus soil mix for good drainage. Gently remove the succulent from its old pot. Shake off excess soil from the roots. Place it in the new pot at the same depth. Wait a few days before watering.
How do you replant a tall succulent that’s outgrown its space?
When replanting a tall succulent, gently loosen the soil around the edges of the pot and carefully ease the plant out, supporting the main stem to avoid damaging the roots. Lift it out with roots intact. Trim any damaged roots. Pick a pot that’s 1-2 inches wider than the root ball. Add fresh soil to the new pot. Set the succulent in and fill around it with soil.
What’s the trick to transplanting a succulent right into the ground?
Pick a spot with well-draining soil and consider the specific light needs of your succulent variety, as some prefer bright, direct sunlight while others thrive in cooler, less intense light. Dig a hole twice as wide as the root ball. Mix some sand into the soil for better drainage. Plant the succulent at the same depth as it was in its pot. Water succulents lightly after 5-7 days of planting, ensuring the soil is dry before watering to prevent root rot.
Can I just stick my succulent cuttings in soil, or is there a method to it?
Let cuttings dry for a few days first. This helps prevent rot. Use a well-draining soil mix. Poke a small hole in the soil, gently place the cutting in the hole ensuring the lowest leaf is above the soil to avoid rot, and do not water immediately after planting.
How can I avoid killing my succulents when I replant them?
Be gentle with the roots. Don’t water right after transplanting. Give them bright, indirect light for a few days. Use the right soil mix. Don’t bury the leaves or stem. Wait a week before fertilizing.
Is transplant shock a thing for succulents, and how can I prevent it?
Yes, succulents can get transplant shock. Giving your succulents extra nutrients after transplanting helps reduce transplant shock. Once you’ve repotted, fertilize them as you normally do during their growing season.

