Potting Cactus Plants
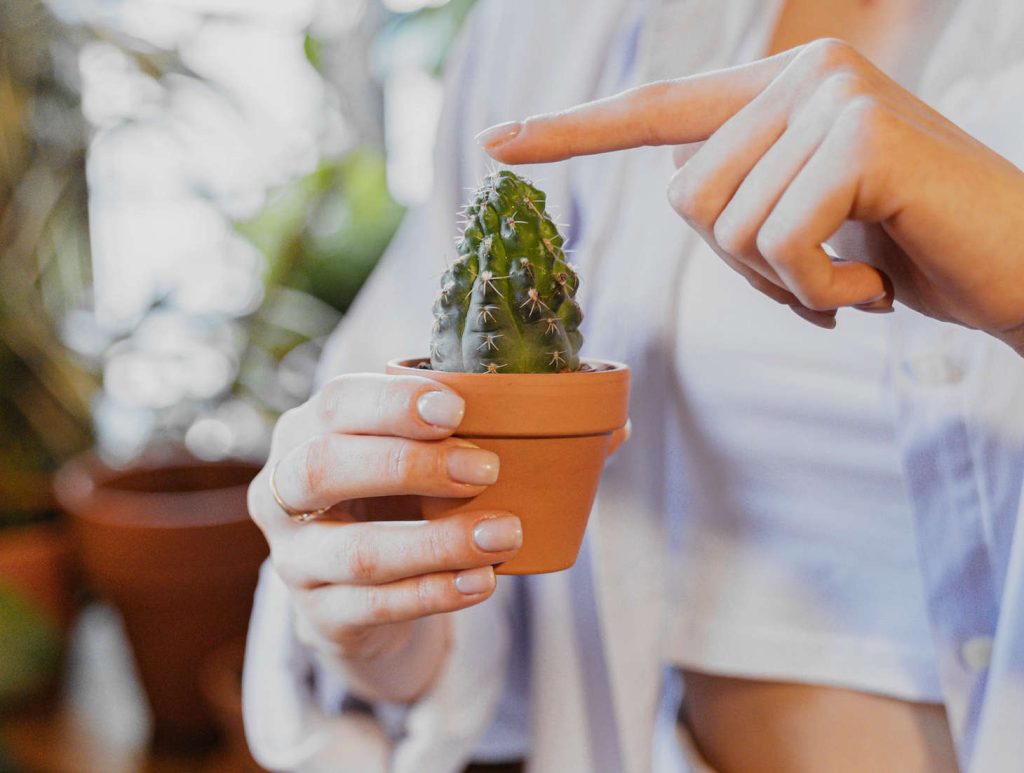
Potting a cactus properly is essential for its health and growth. Many beginners make simple mistakes that can harm these resilient plants. The key to successful cactus potting is using well-draining soil with at least 50% inorganic material like perlite, pumice, or lava rock to prevent root rot. When choosing a container, select one that’s not too large—just enough space for the plant to grow comfortably for the next few years.
While repotting may seem intimidating, cacti are quite forgiving. You should typically repot your cactus every 2-4 years, depending on your fertilizing schedule. Don’t worry if you damage some roots during the process, cacti can regenerate them easily. When adding soil, gently wiggle the roots into place and lightly tap the pot to settle everything.
Key Takeaways
- Use well-draining soil with at least 50% inorganic materials to prevent root rot and ensure healthy cactus growth.
- Choose a pot that’s just slightly larger than your cactus and includes proper drainage holes.
- Repot your cactus every 2-3 years and don’t worry about minor root damage during the process.
Choosing the Right Pot
Selecting the proper pot for your cactus is crucial for its health and growth. The right container provides stability, adequate space for roots, and proper drainage to prevent root rot.
Identifying Suitable Materials
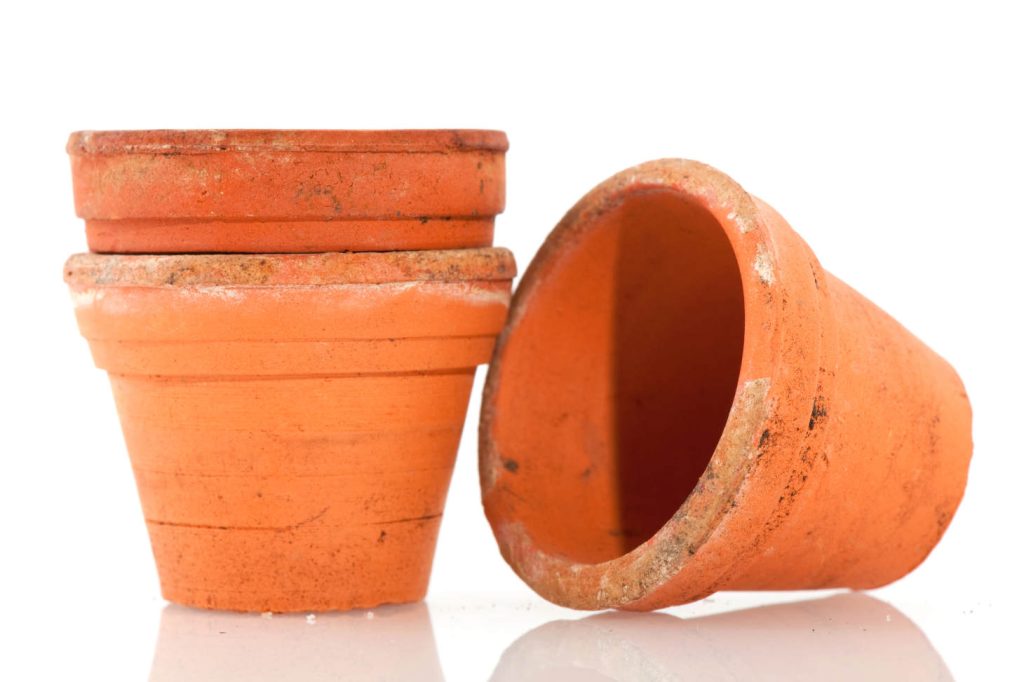
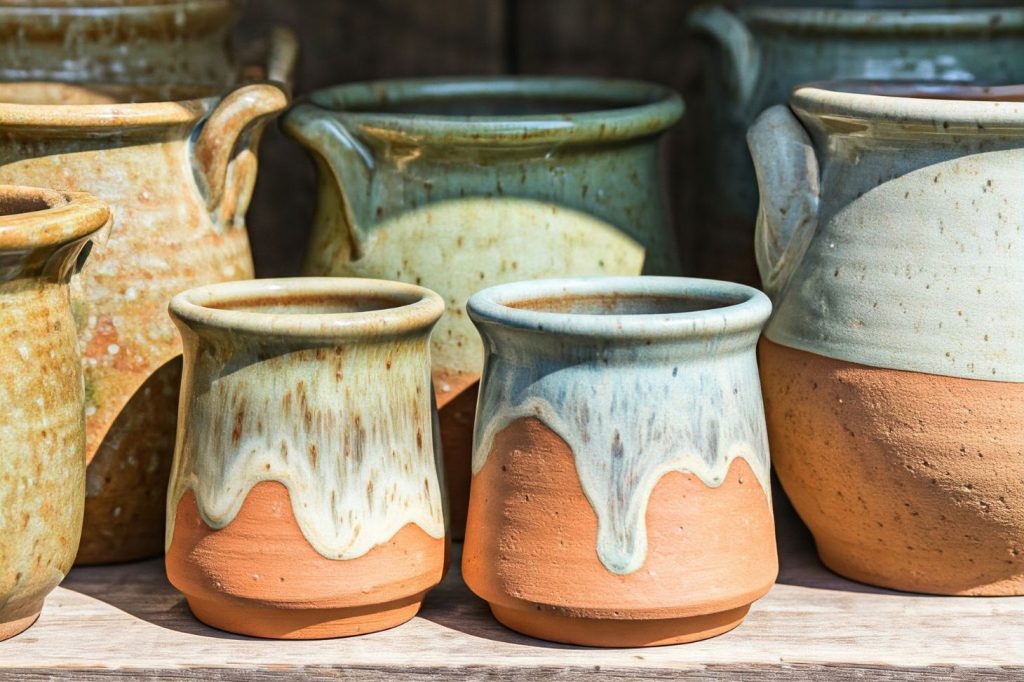
Clay pots are excellent choices for cacti because they’re porous and allow soil to breathe. This porosity helps prevent overwatering by allowing excess moisture to evaporate through the sides of the container.
Terracotta, a specific type of clay pot, is particularly well-suited for desert plants. These containers regulate temperature better than plastic pots, keeping roots cooler in summer and warmer in winter.
Plastic pots are lighter and retain moisture longer, which can be both an advantage and disadvantage. If you choose plastic, you’ll need to be more careful with watering.
Ceramic pots with glazed interiors work well too, but ensure they have drainage holes. Avoid metal containers as they can heat up excessively and damage roots.
Size Considerations for Cactus Pots
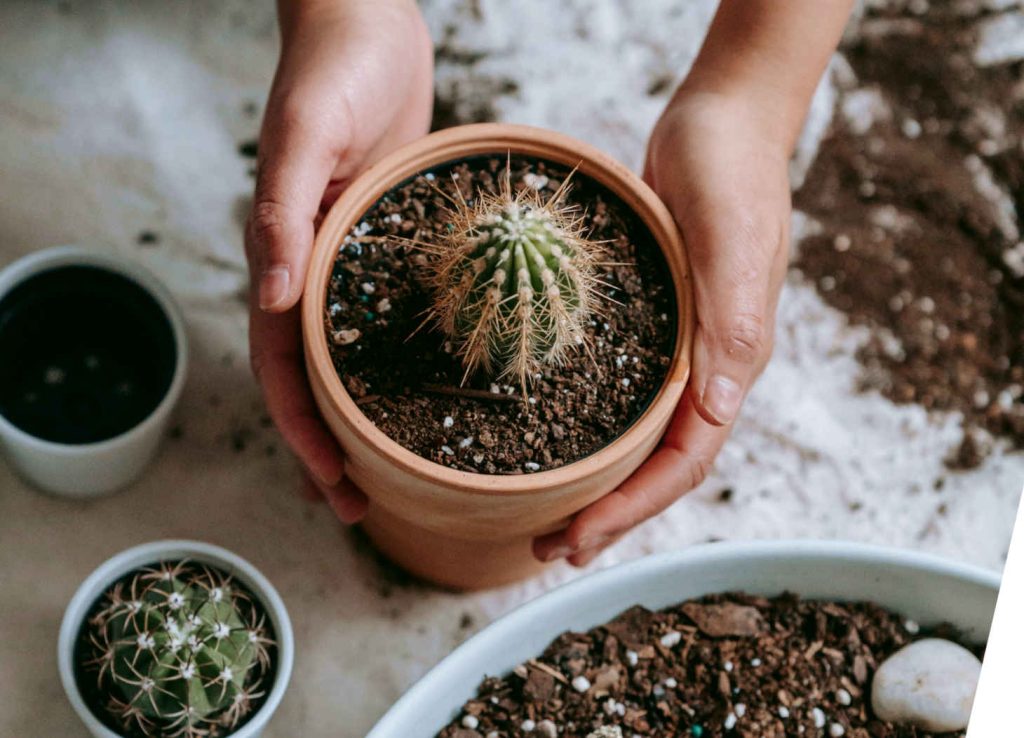
Choose a pot that’s proportional to your cactus size. The container should be only slightly larger than the plant’s root ball, about 1-2 inches wider in diameter.
Unlike houseplants that enjoy spacious pots, cacti prefer snug containers. An oversized pot holds excess soil and moisture that can lead to root rot.
For columnar cacti, select deeper pots that accommodate their long root systems. For sprawling varieties that grow outward, wider, shallower pots provide better stability.
When repotting, increase pot size gradually. Moving to a container that’s too large can shock your cactus and create unhealthy growing conditions.
Pot Size Guide:
- Small cacti (under 4″): 4-5″ pot
- Medium cacti (4-8″): 6-8″ pot
- Large cacti (over 8″): 10-12″ pot or larger based on root size
Importance of Drainage Holes
Drainage holes are non-negotiable for cactus pots. Without proper drainage, water collects at the bottom, creating soggy conditions that lead to root rot.
Look for pots with at least one large drainage hole or multiple smaller ones. If you find a perfect pot without holes, you can drill them yourself using appropriate tools.
For indoor cacti, pair your pot with a saucer to catch excess water. Empty this saucer promptly after watering to prevent the plant from sitting in water.
If you’re using decorative containers without drainage, consider the “pot within a pot” method. Keep your cactus in a plain nursery pot with holes and place it inside the decorative container for watering.
Preparing the Correct Soil Mix
Cacti need special soil that drains well and doesn’t stay wet for long periods. The right mix prevents root rot while still providing nutrients for healthy growth.
Components of Cactus-Specific Soil
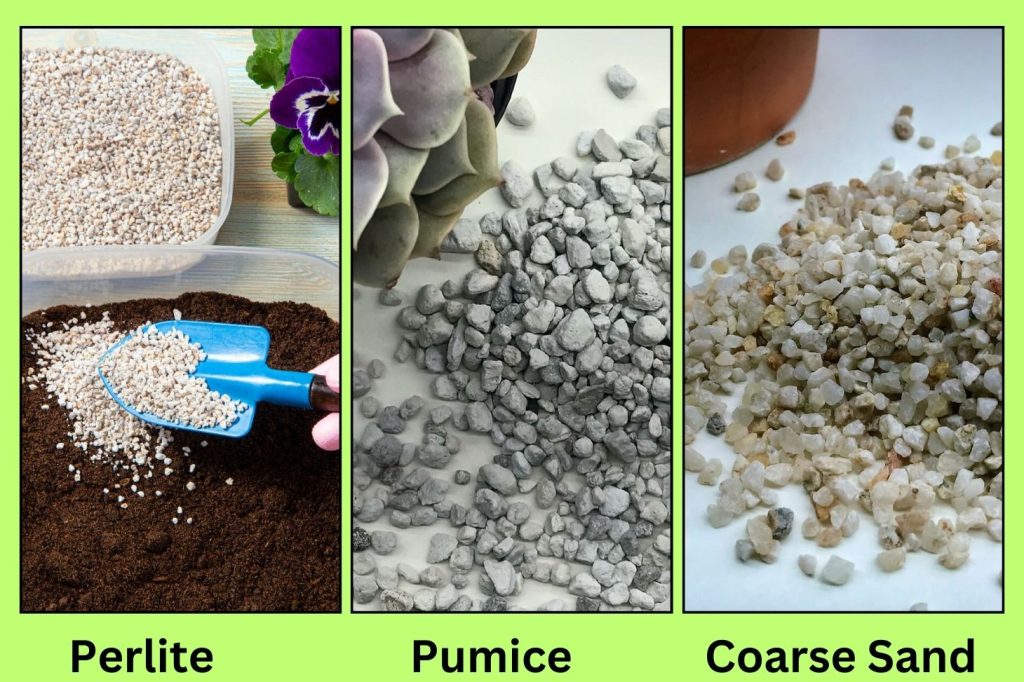
The ideal cactus soil combines several key materials in specific proportions. Most commercial and homemade mixes use a combination of regular potting soil, coarse sand, and drainage materials.
A standard recipe includes three parts potting soil, three parts coarse sand, and two parts perlite or pumice. This ratio creates the fast-draining environment cacti need.
Some growers prefer an even more mineral-based mix, especially for desert cacti. These “hardcore” recipes might contain:
- 40% pumice
- 25% zeolite
- 15% lava rock
- 10% expanded clay
- 10% perlite
Peat is often included in commercial mixes but retains more moisture than some cacti prefer. For extremely drought-tolerant species, you might want to reduce or eliminate peat.
Modifying Regular Soil for Cacti
If you only have regular potting soil, you can modify it for your cacti. Start by adding coarse materials that improve drainage and reduce water retention.
For every one part of regular potting soil, add one part of coarse sand. Builder’s sand or horticultural sand works well, but avoid fine beach sand which can compact and block drainage.
Add perlite, pumice, or small gravel as the third component. These materials create air pockets in the soil that allow roots to breathe and excess water to drain quickly.
A simple DIY mix can be:
- 3 parts potting soil
- 3 parts coarse sand
- 2 parts perlite or pumice
Test the drainage by wetting the mix and squeezing it. A good cactus mix should crumble easily rather than forming a solid ball.
But why bother? Finding all these ingredients separately can be a pain. You might end up buying big bags you don’t need, taking up space in your home.
The easiest way to ensure happy, healthy cacti? Choose our high-performing cactus soil! We’ve already blended the perfect mix of ingredients for excellent drainage and just the right amount of moisture.
When to Add Gravel or Perlite
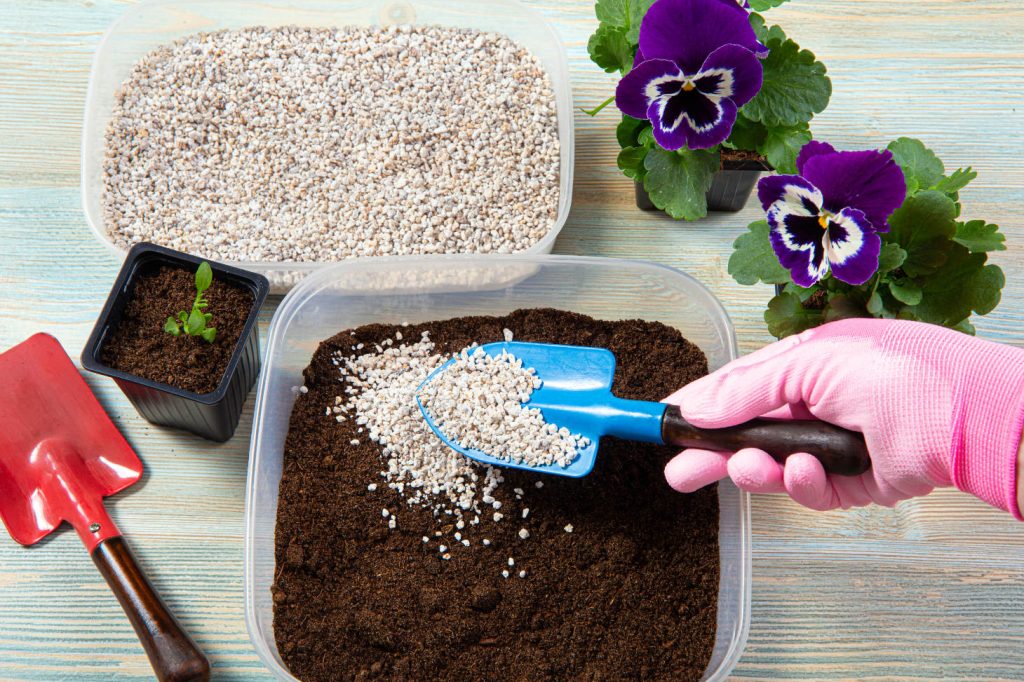
Add extra gravel or perlite when your cacti show signs of moisture stress or when your local climate creates challenging growing conditions.
For particularly moisture-sensitive cacti species like the golden barrel cactus, increase the perlite to 50% of your mix. This provides extra insurance against rot in these vulnerable plants.
If you live in a humid environment, your soil mix should contain more drainage materials. Increase the gravel or perlite content by about 15-20% compared to what you’d use in drier climates.
Always choose small gravel (¼ inch or less) when mixing directly into soil to maintain a good balance between drainage and water retention.
Potting Steps and Techniques
Proper potting technique is crucial for your cactus’s health and growth. The right approach prevents damage to the plant while ensuring it has the ideal environment to thrive in its new home.
Removing the Cactus Safely
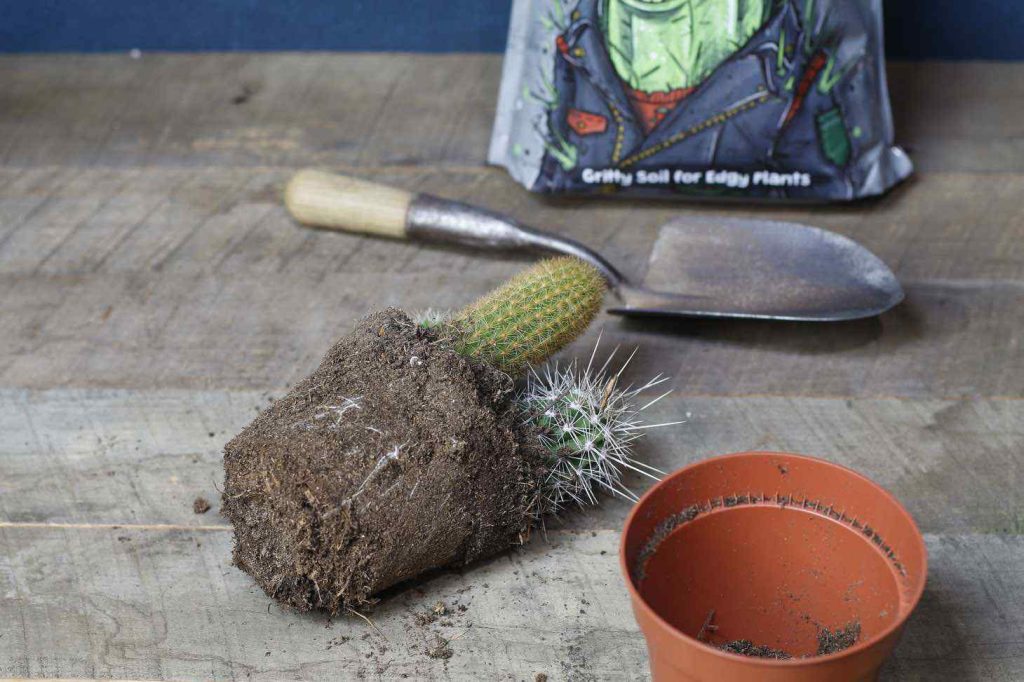
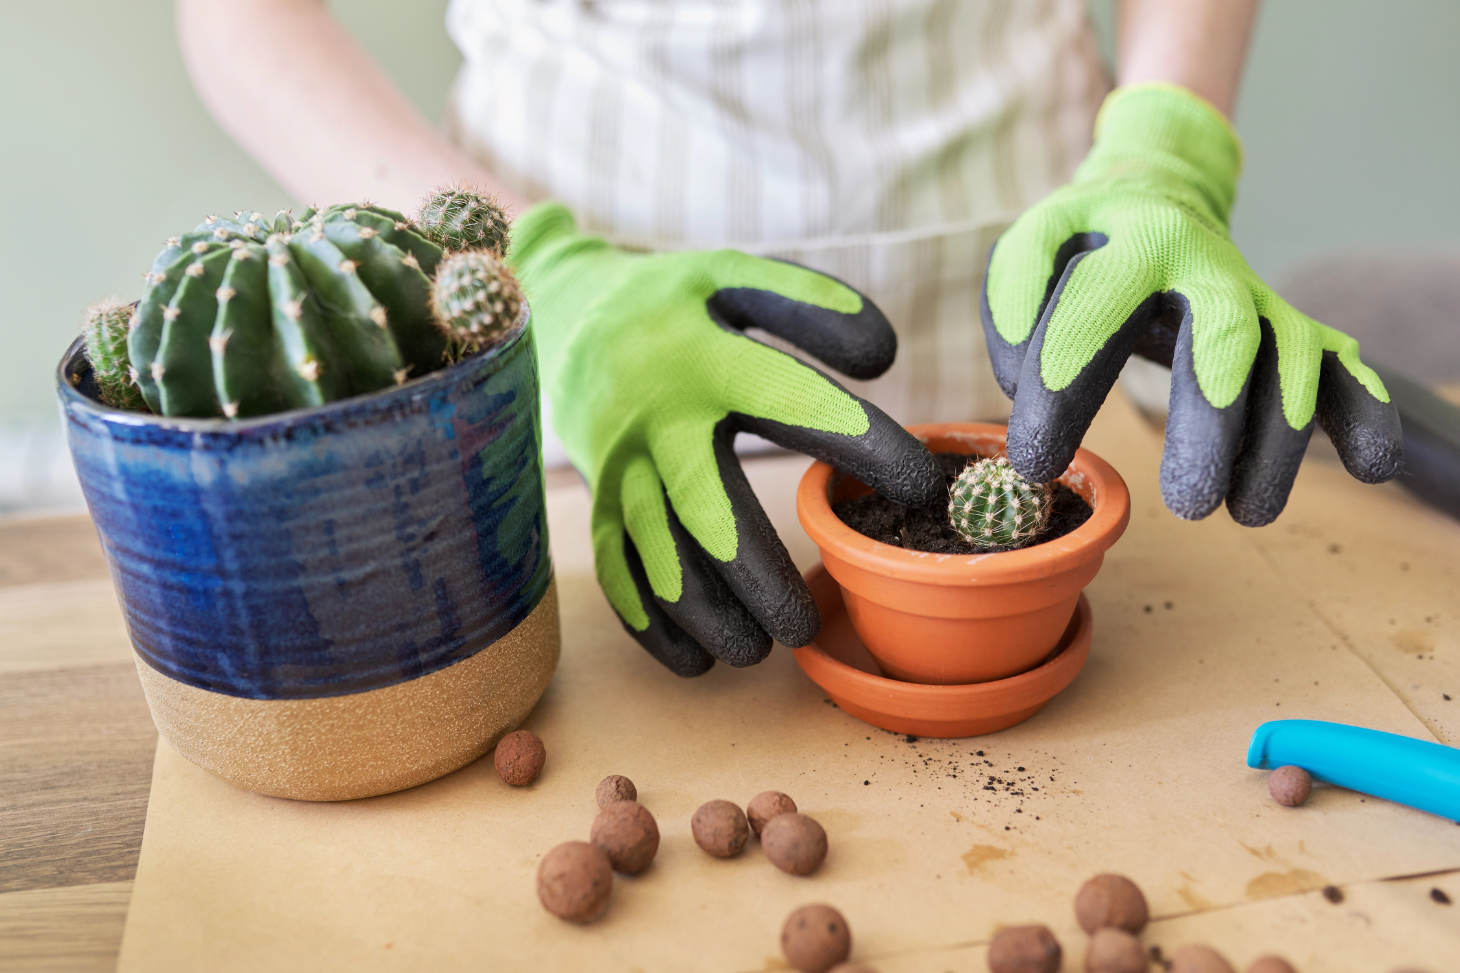
Handling cacti requires care to protect both you and the plant. Wear thick gloves or wrap the cactus in newspaper or a towel to avoid injury from spines.
If the cactus is in an old pot, gently tap the sides and bottom to loosen the soil. Turn the pot sideways and carefully slide the plant out while supporting its base. Never pull a cactus by its stem as this can damage it.
For stubborn plants, run a knife around the inside edge of the pot to free the roots. Allow the soil to dry completely if it’s wet to prevent root rot, as wet soil can lead to complications during the repotting process.
After removing the plant, gently shake off excess soil and examine the roots. Use a bonsai rake or small tool to carefully remove old soil from around the roots. Trim any dead, black, or rotting roots with clean scissors.
Layering the Soil and Positioning the Plant
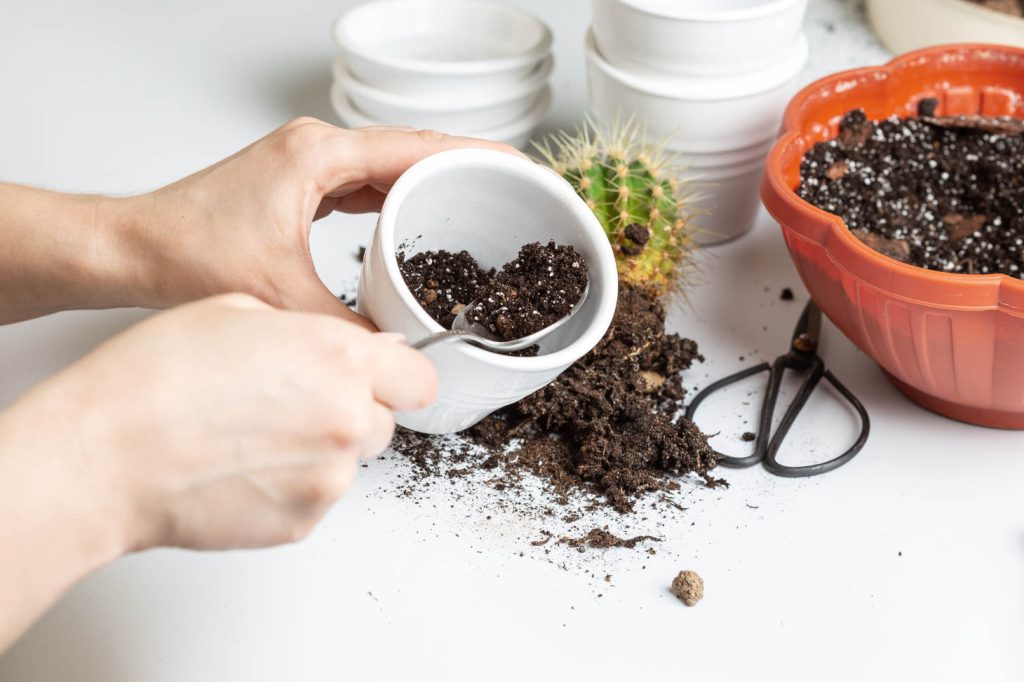
Prepare the new pot with proper drainage. Next, add a layer of cactus soil mix. You can purchase pre-made cactus soil or create your own:
DIY Cactus Soil Recipe:
- 3 parts potting soil
- 3 parts coarse sand
- 2 parts perlite or pumice
Fill the pot about 1/3 full with this mix. Create a small mound in the center where the cactus will sit. Position your cactus in the center, spreading the roots over this mound.
Hold the cactus at the proper height that allows for proper planting depth to ensure stability, typically at the same depth it was growing in its original pot. For most cacti, the top of the roots should be just below the soil surface.
Finalizing the Potting Process

While holding the cactus in position, add more soil mix around the sides. Gently press down with your fingers or a small tool to eliminate air pockets. Be careful not to bury the cactus deeper than it was before.
Leave about 1 inch between the soil and the pot rim for watering space. Top the soil with a thin layer of small gravel or decorative stone to help with drainage and give a finished look.
Wait a few days to up to two weeks before watering the newly potted cactus. This allows any damaged roots to heal and prevents rot. When you do water, do so thoroughly but allow the soil to completely dry out between waterings.
Label your newly potted cactus with the date and species name if known. Place it in a spot with appropriate light for its type, usually bright but indirect sunlight for the first week after repotting.
Cactus Care After Potting
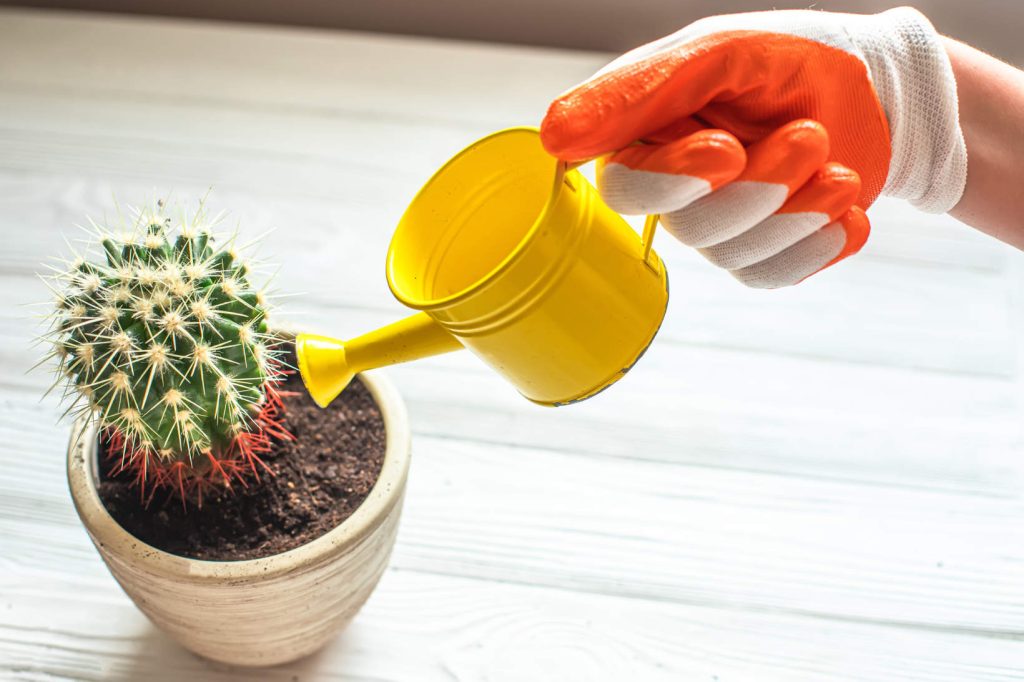
After repotting your cactus, proper care is essential for recovery and healthy growth. The first few weeks are critical as your plant adjusts to its new home and heals any root damage that occurred during transplanting.
Watering Guidelines for New Potting
Don’t water your cactus immediately after repotting. Wait at least 7-10 days before the first watering to allow any damaged roots to heal and form calluses. This prevents rot and fungal infections in the vulnerable root system.
When you do water, do so thoroughly but infrequently. Check that the soil is completely dry before watering again. For indoor cacti, this might mean watering once every 2-4 weeks during growing season and even less in winter.
Use room temperature water and apply it to the soil, not the plant body. Water should drain freely through the pot’s drainage holes. Empty any excess water from the saucer to prevent root rot.
Placement and Sunlight Requirements
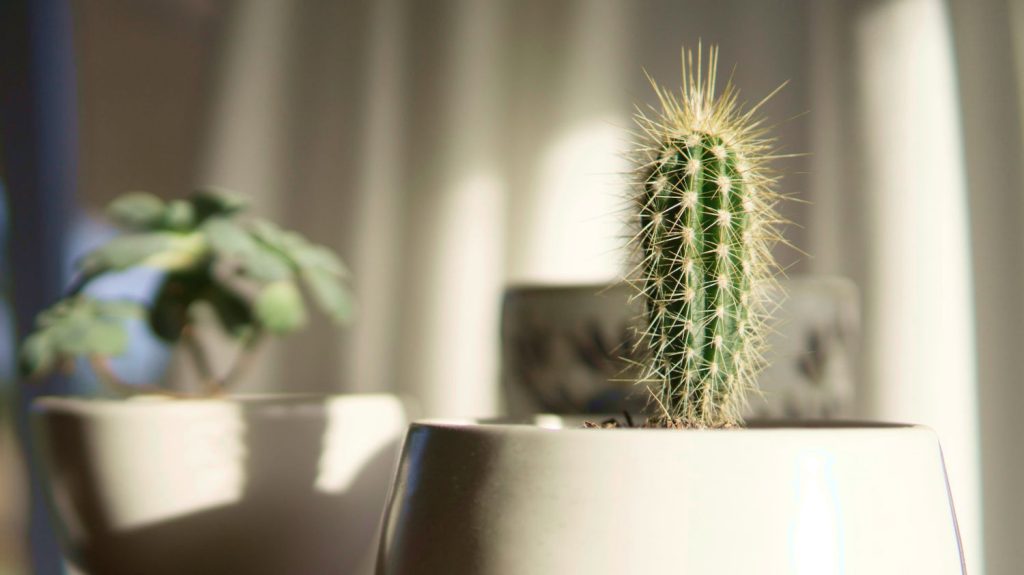
Place your newly potted cactus in a spot with bright, indirect light for the first week. This reduces stress while the plant establishes itself in the new pot. After this adjustment period, gradually move it to its permanent location.
Most cacti need 4-6 hours of direct sunlight daily. South or east-facing windows are ideal for indoor cacti. Rotate the pot occasionally for even growth.
In a greenhouse, position your cactus according to its specific light requirements. Some desert varieties need full sun, while forest cacti may prefer filtered light. Watch for signs of sunburn (yellowing or browning) and adjust placement as needed.
Long-Term Maintenance and Observation
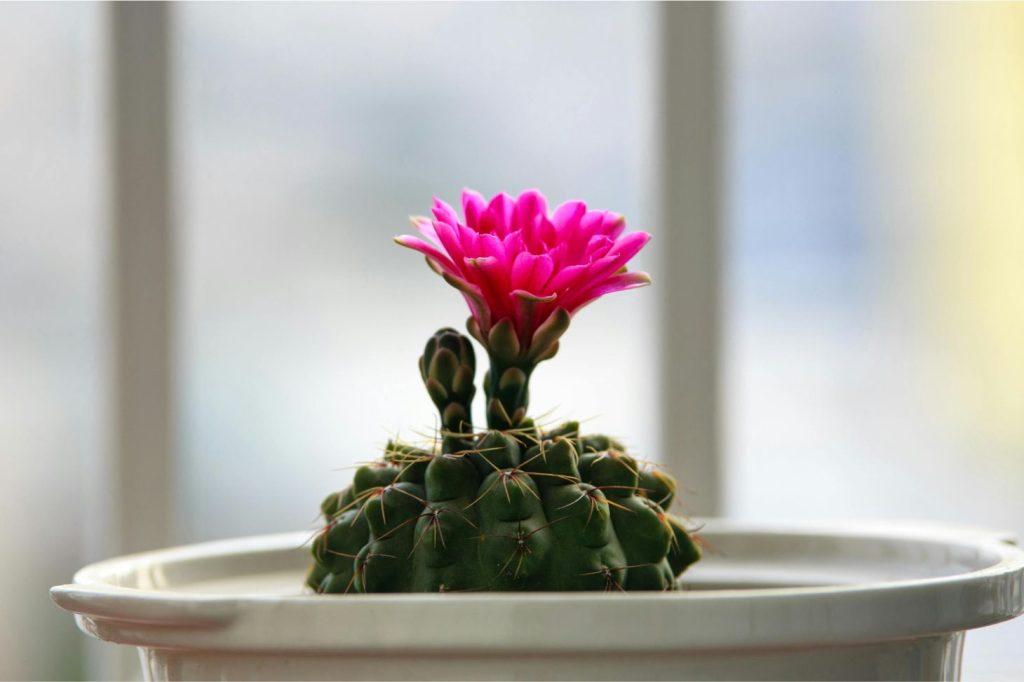
Monitor your cactus closely during the first month after repotting. Look for signs of new growth, which indicate successful establishment. Small spines or pads forming at the top or sides show your plant is thriving.
Check regularly for pests like mealybugs or spider mites that might attack a stressed plant. Treat any infestations promptly with insecticidal soap or alcohol on a cotton swab.
Fertilize monthly during the active growing season (spring and summer) after the cactus shows signs of new growth. Use a cactus-specific fertilizer at half the recommended strength during the growing season (spring and summer).
Record your cactus care routine in a simple plant journal to track growth patterns and successful care techniques. This helps you understand your specific plant’s needs better over time.

