Succulent Propagation in Soil
If you want to grow more succulents from your own plants, soil propagation is one of the easiest and most reliable methods. To propagate succulents in soil, you just need a healthy cutting or leaf, let it callous for a few days, and place it in well-draining soil with a bit of water and bright light. This process helps new roots grow from the cutting, eventually giving you a new plant.
Using the right soil and conditions plays a big role in how successful you’ll be. Most people use a well-draining succulent mix because it drains quickly and keeps roots healthy. With some patience and the right steps, you’ll see roots and new growth in just a few weeks.
Essential Requirements for Succulent Propagation in Soil
Succulent propagation in soil relies on using the right materials and environments. A well-chosen soil mix, suitable container, and good lighting will all help new roots form and keep your cuttings healthy.
Choosing the Right Soil Mix
Succulent cuttings need a soil mix that drains water quickly. This helps stop root rot and keeps your plants healthy. Do not use regular potting soil because it holds too much moisture.
A good soil mix for succulents usually includes succulent mix, perlite, or coarse sand. These ingredients make sure your cuttings get air around their roots and never sit in soggy soil.
You can buy well-draining pre-mixed succulent soil or make your own. To make your own, use this easy recipe:
- 3 parts potting soil
- 2 parts coarse sand
- 1 part perlite or pumice
Mix the ingredients together until even. If you notice water is still pooling in your soil after watering, add extra perlite or sand.
Optimal Container Selection
Your choice of container affects how well your succulent cuttings develop roots. Plastic pots and terra cotta pots are the most common options. Terra cotta is a better choice because it absorbs water and helps the soil dry faster.
Always choose a container with drainage holes. This prevents water from building up at the bottom, which can cause roots to rot. Small pots, about 2-4 inches wide, work well for single cuttings or a few leaves.
Avoid containers that hold in moisture, like glass jars, unless you are very careful with watering. Shallow containers also help because they let the soil dry out more evenly and keep roots from staying wet too long.
Ideal Lighting Conditions
Succulent cuttings need light to root and grow strong. However, direct sunlight can burn young leaves and cause them to dry out before they develop roots.
For best results, place your cuttings where they will get bright, indirect sunlight. You can use a windowsill with filtered light or put the pots near a window that gets morning sun. If you are growing cuttings indoors and don’t get much natural light, use a grow light. Keep the light source about 6-12 inches above the plants.
Avoid placing new cuttings in full, hot sunlight. Once the cuttings develop roots and new growth, you can slowly move them into brighter spots. Check the cuttings often for signs of sunburn or stretching, and adjust the light as needed to keep them growing compact and healthy.
Step-by-Step Guide to Propagating Succulents in Soil
To grow new succulents from cuttings, it is important to use healthy pieces from the parent plant, let them dry out before planting, and provide the right soil and watering. Each phase helps ensure roots can develop and the plant will survive.
Preparing Succulent Cuttings
Begin with a healthy, mature succulent. Select a stem or leaf that is firm and free from rot or disease. Use sharp, clean scissors or pruning shears.
For a stem cutting, cut just below a leaf node so the piece is about 2-5 inches long. Remove extra leaves from the bottom of a stem cutting so at least one inch of stem is bare.
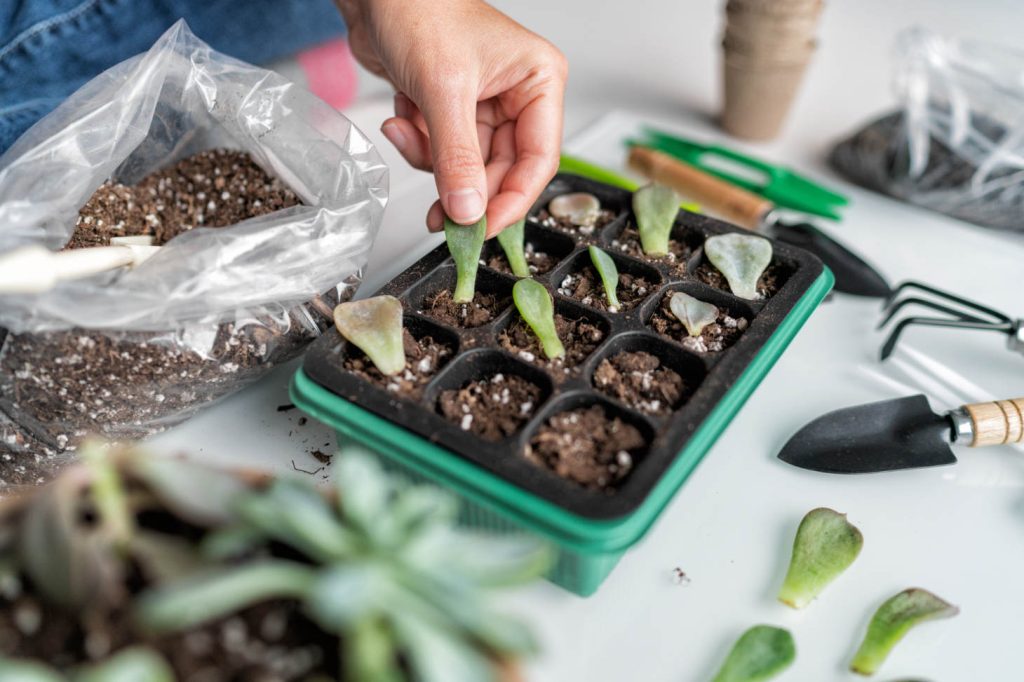
For leaf cuttings, gently twist a leaf from the stem, ensuring you get the full leaf without leaving part of it behind. Damaged or torn pieces won’t root well. Place the cuttings on a paper towel and keep them out of direct sunlight until the next step.
Allowing Callus Formation
Let your cuttings dry out so the ends can form a callus before planting in soil. This step helps prevent rotting. Place the cuttings in a warm, dry spot with indirect light.
Do not rush this phase. Wait for a few days for a thin, dry layer to develop at the cut edge. The time needed may change based on your room’s humidity and temperature. A properly callused end will look dry and a little harder than the rest of the stem or leaf. Avoid planting too soon, as a fresh cut is likely to rot once in soil.
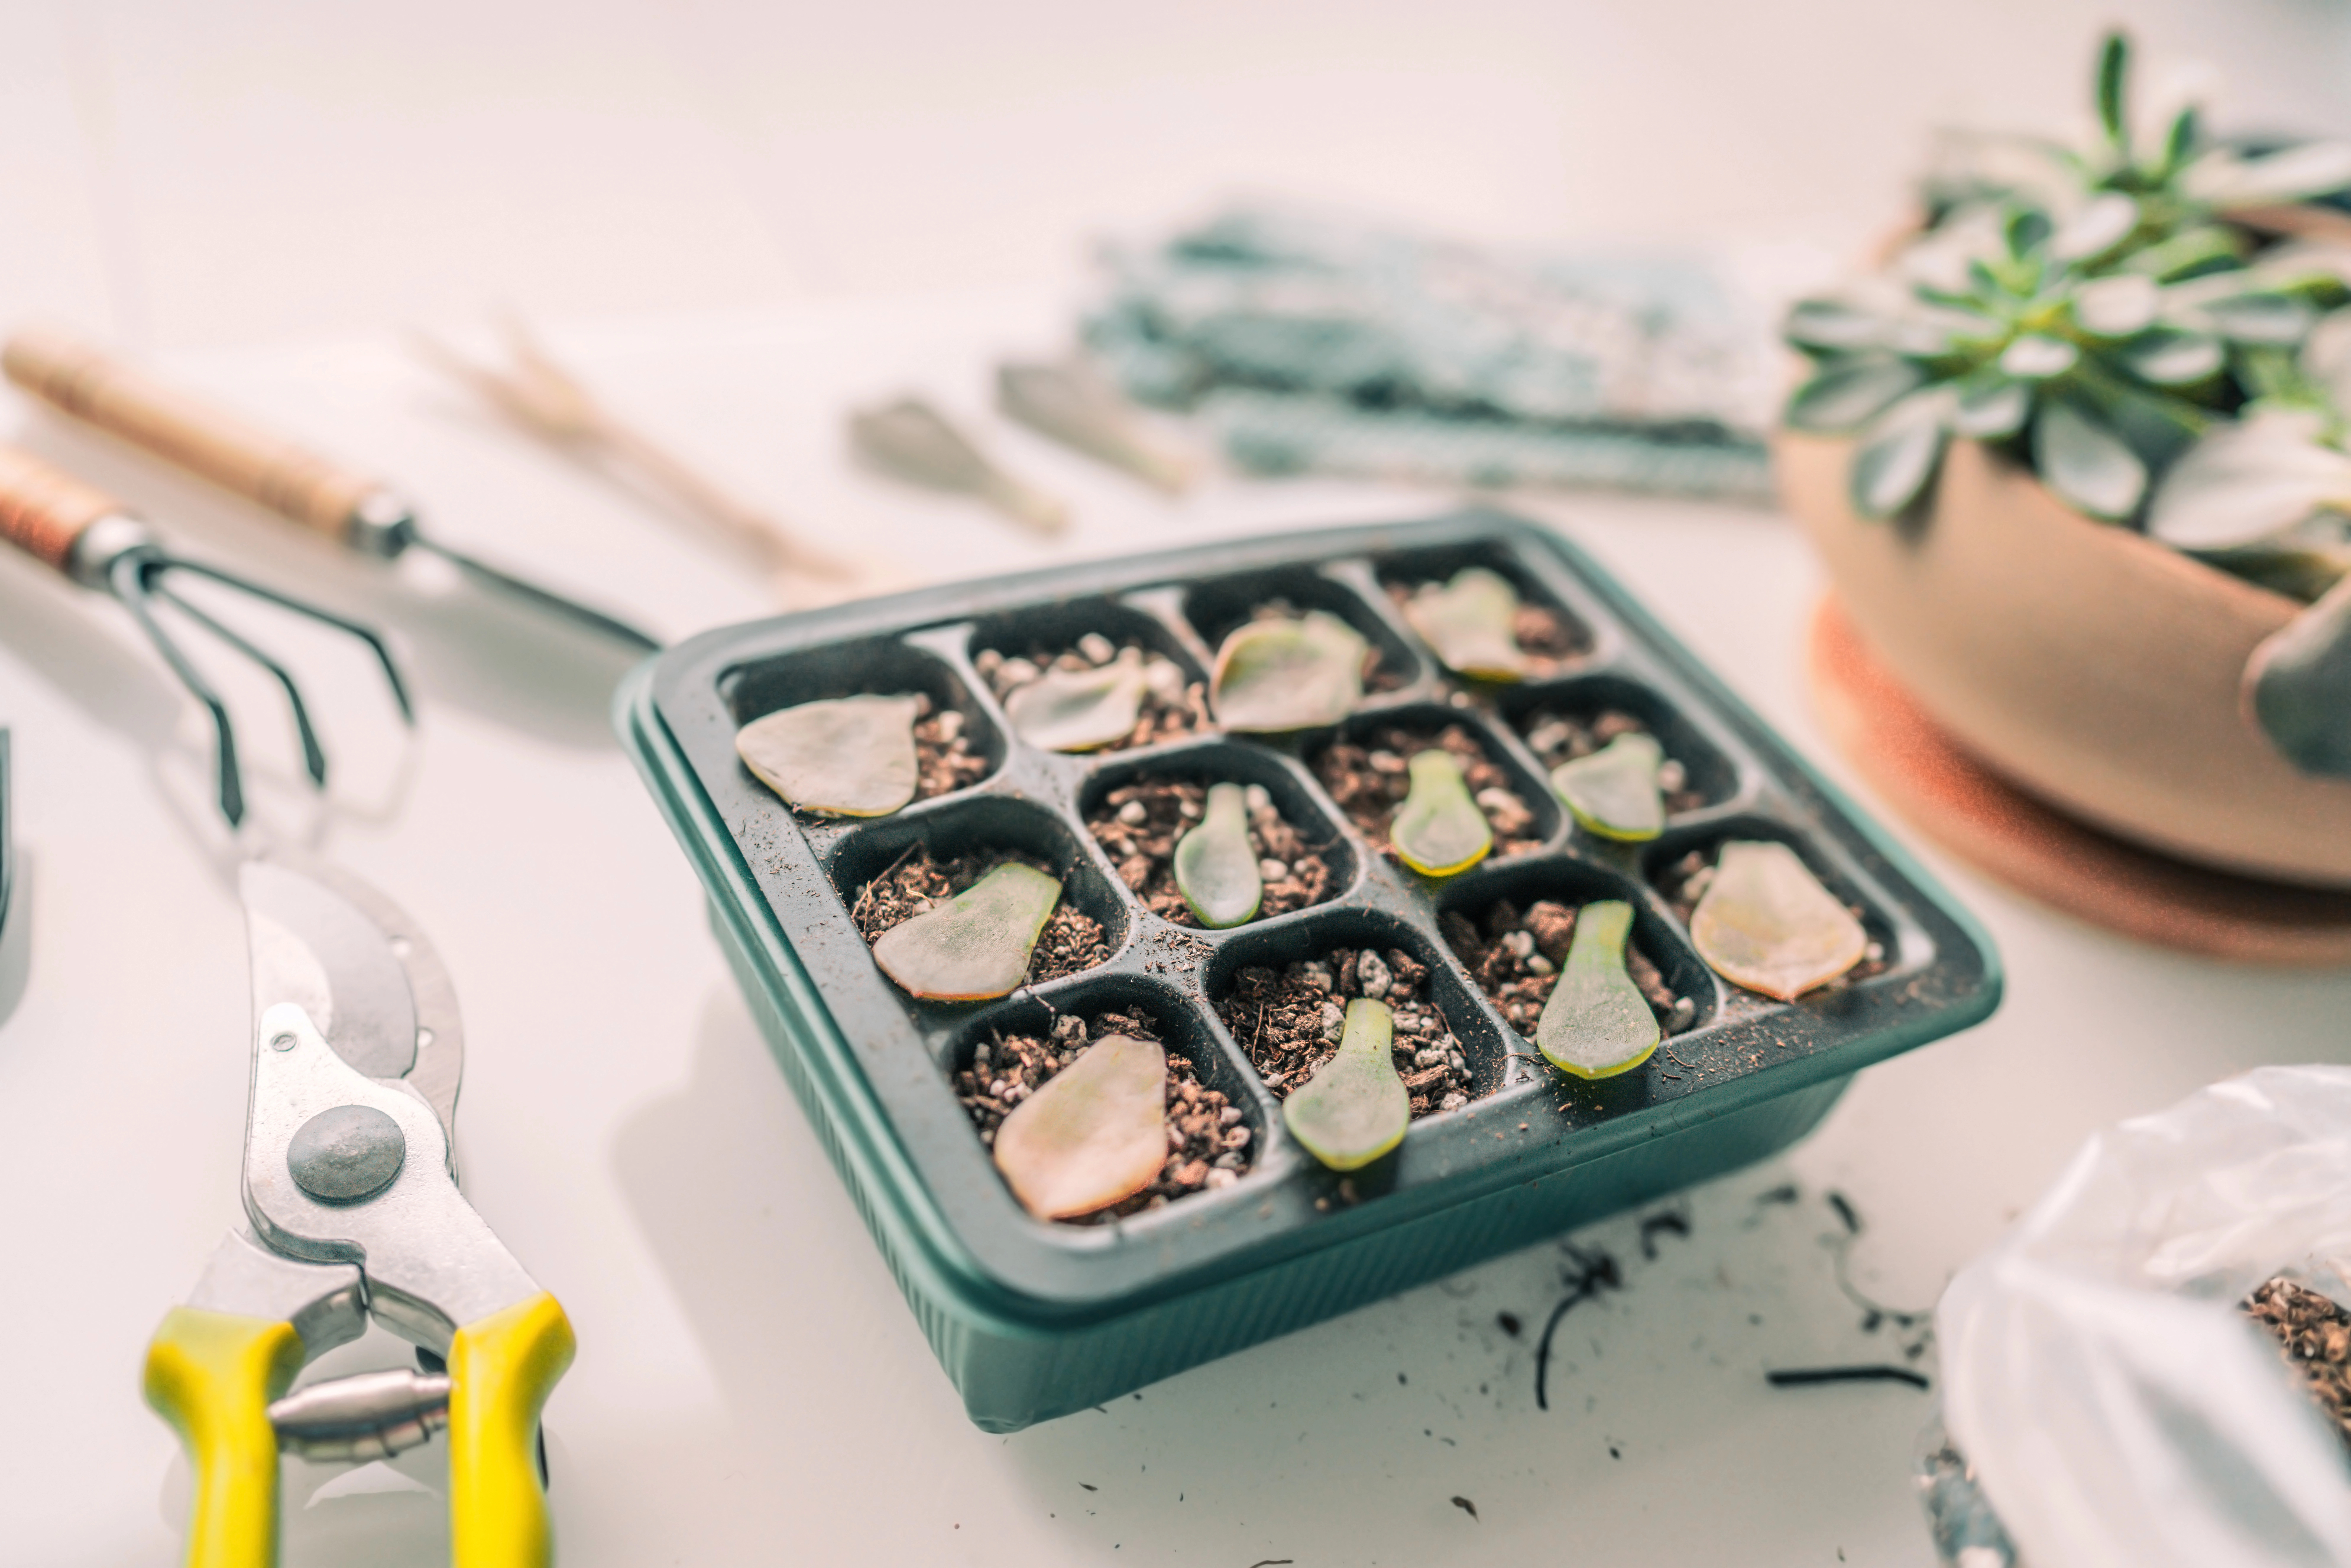
Planting Cuttings in Soil
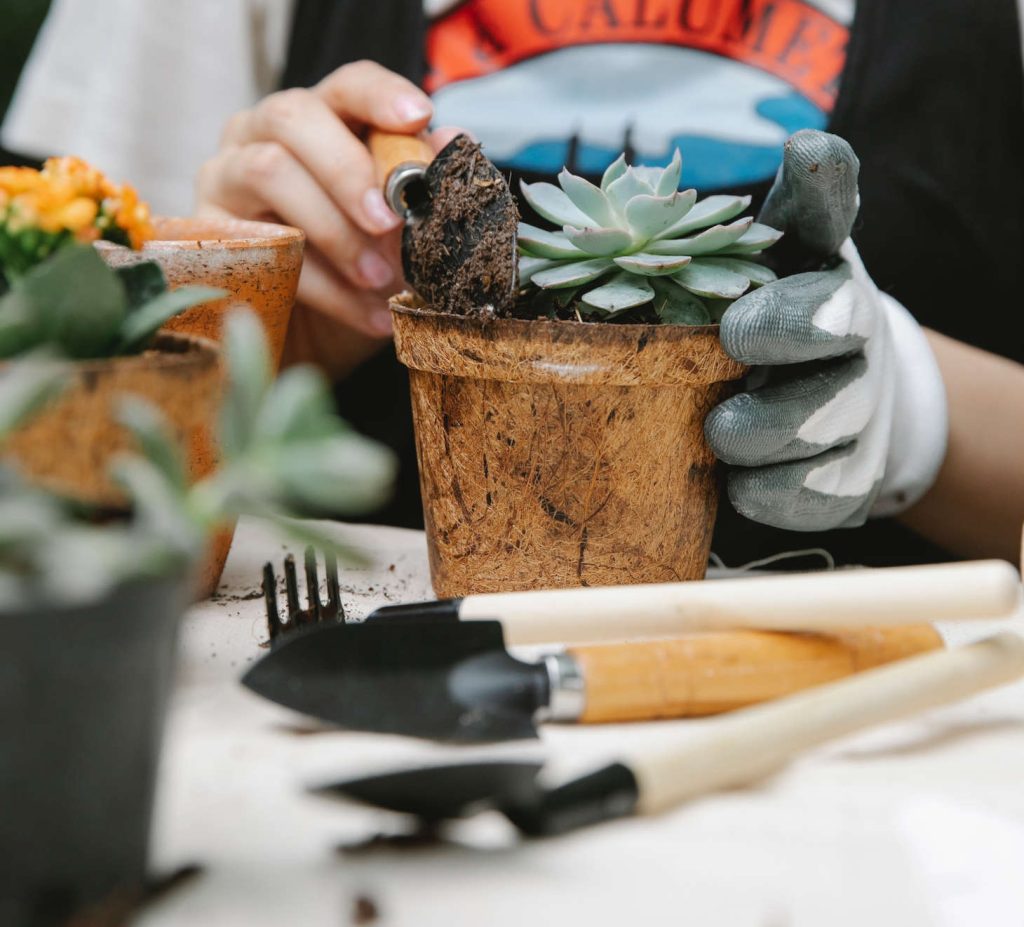
Choose a small pot with drainage holes and fill it with well-draining succulent potting mix. These mixes are fast-draining and prevent waterlogged roots. If you use regular potting soil, add coarse sand or perlite to help with drainage.
For stem cuttings, gently press the callused end of the cutting into the soil, ensuring at least two bare nodes are covered. Do not water immediately. For leaf cuttings, simply lay them flat on top of the soil. Give the cuttings enough space to breathe and avoid crowding. Place the pot in bright, indirect sunlight, but keep it out of intense midday sun to avoid stress.
Watering and Initial Care
For leaf cuttings, keep the soil lightly damp by misting every few days. Be careful not to overwater, as this can lead to leaf rot.
For stem cuttings, wait until roots appear before the first watering. After roots start to form, usually after two to four weeks, water only when the soil is completely dry.
Monitoring Growth and Troubleshooting Common Issues
Careful observation is important for successful succulent propagation in soil. Watching for clear signs of healthy roots, catching problems like rot early, and knowing what to do if growth slows will help you keep your plants healthy.
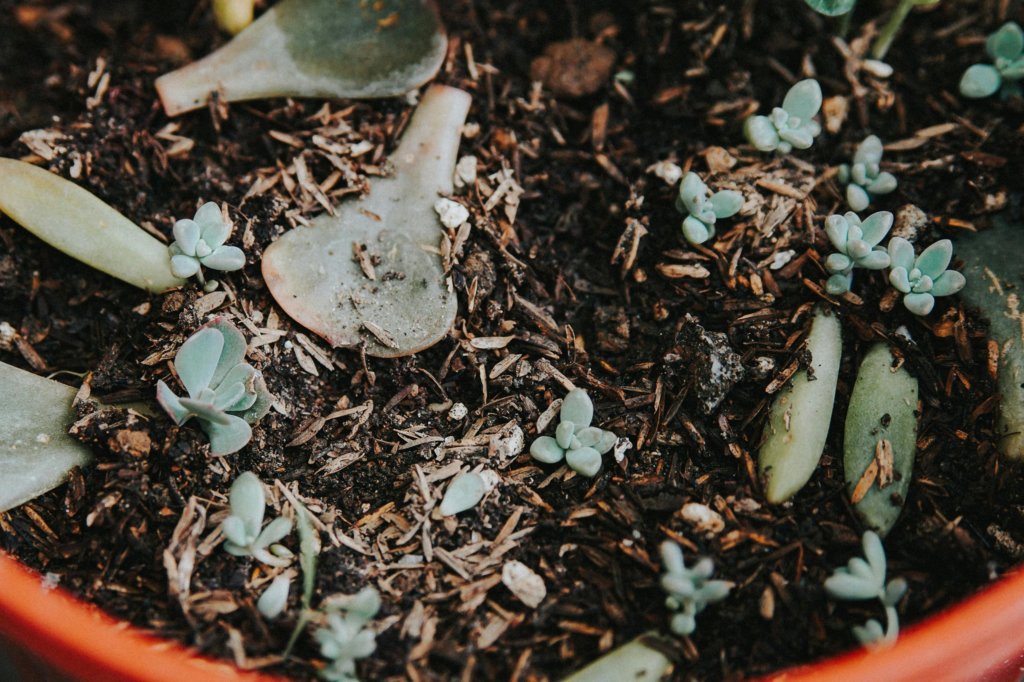
Identifying Healthy Root Development
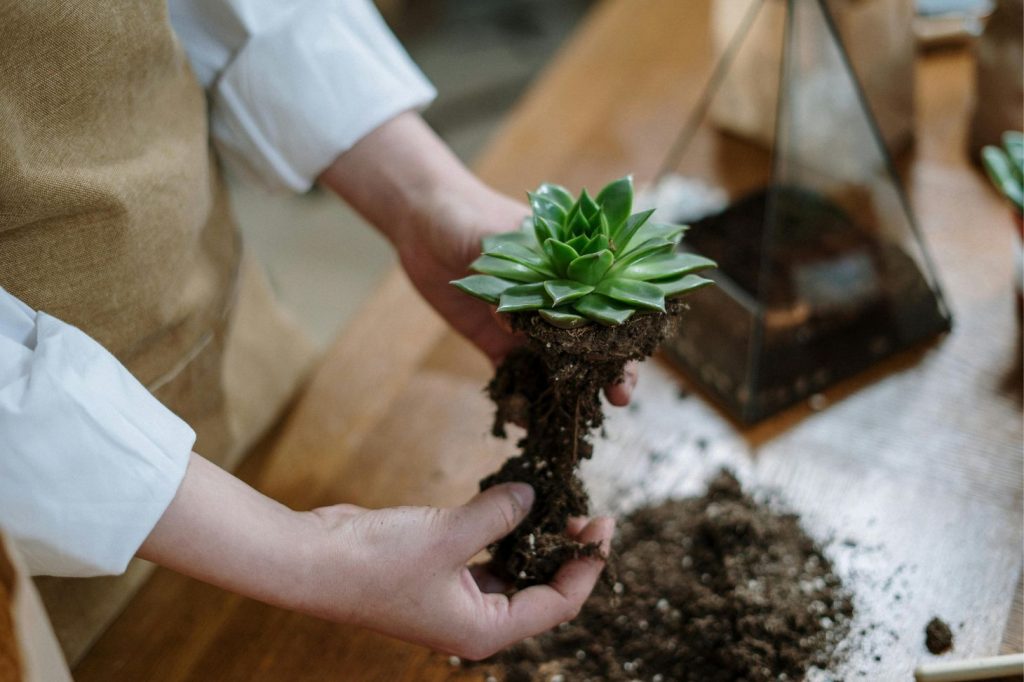
Healthy root growth is a key sign that your succulent propagation is working. Look for roots that appear white or light-colored and firm, not mushy or brown. New roots should begin to develop within two to four weeks after planting cuttings in soil.
To check for roots, gently lift the cutting. If you feel resistance when you gently tug, roots are likely growing. Avoid pulling too hard to prevent damage.
You can grow in clear containers such as a plastic cup which will allow you to see roots developing. You can also dig down into the soil a bit with something like a chopstick to check for root development while minimizing disruption to the soil.
Keep the soil barely moist and use well-draining mixes. Good airflow and patience are essential.
Preventing Rot and Fungal Problems
Rot and fungal issues in succulents often happen because of too much water or poor soil drainage. Overwatering is the most common cause of failure during propagation.
Follow these steps to avoid rot:
- Use pots with drainage holes
- Select a gritty, well-draining soil mix
- Water only when the soil is completely dry
- Avoid letting leaves sit on wet soil
Watch for symptoms such as black or mushy stems, foul smells, and leaf discoloration. If you notice signs of rot, remove affected parts with a clean tool and let the cut area dry before replanting.
Keep new cuttings in a spot with good air movement. Reduce humidity to lower the risk of fungi.
Addressing Slow Growth
Some succulents naturally take longer to root and grow than others. If your propagation seems slow, check the basics:
- Make sure your succulents get bright, indirect light
- Keep the soil from staying wet for too long
- Confirm your soil mixture is not too dense
If conditions are right and growth is still slow, check for pests such as fungus gnats or mealybugs. These pests can slow development by damaging roots or stems.
Adjust watering and move cuttings to a warmer, brighter spot if needed. Patience is important, but if there is no change after several months, consider starting with a fresh cutting.
Aftercare and Transplanting Established Succulents
Proper aftercare helps your succulents adjust and thrive after propagation. Knowing when to transplant and how to do it correctly is key to healthy, strong plants.
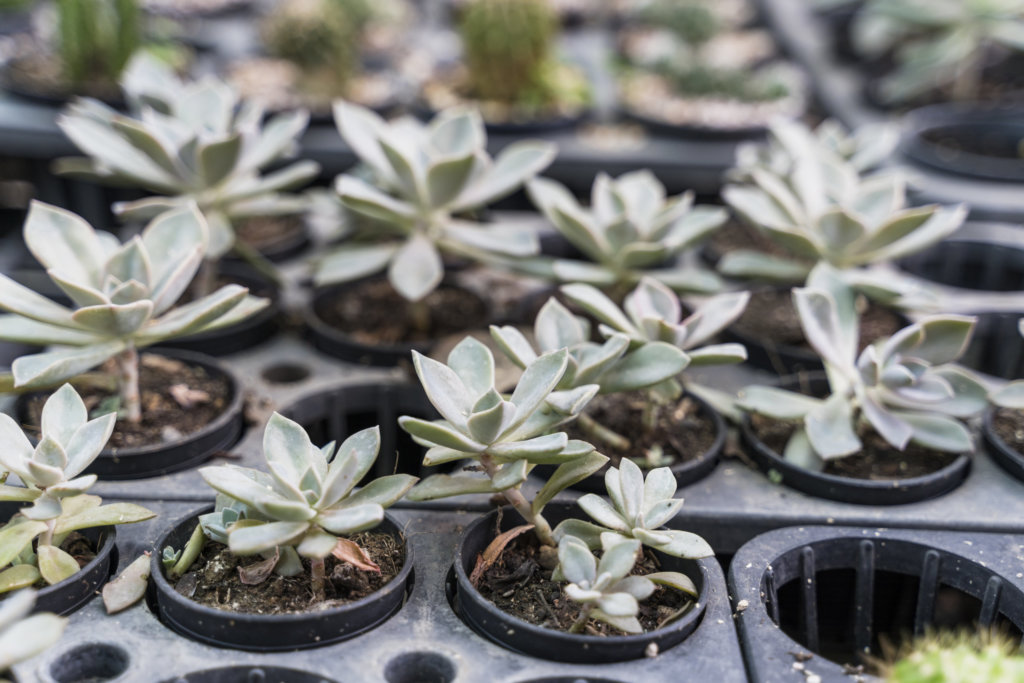
Recognizing Signs of Established Plants
You’ll notice new roots and leaf growth once your succulent cutting or offset has settled in. Healthy roots are white or light tan, and new leaves appear firm and plump.
Watch for these signs:
- Root growth poking out of the soil or drainage holes
- Leaves that no longer look wrinkled or soft
- A sturdy feel when you gently wiggle the plant
If your succulent resists being lifted and stays firmly in the soil, it is likely established. This is the best sign you can safely transplant.
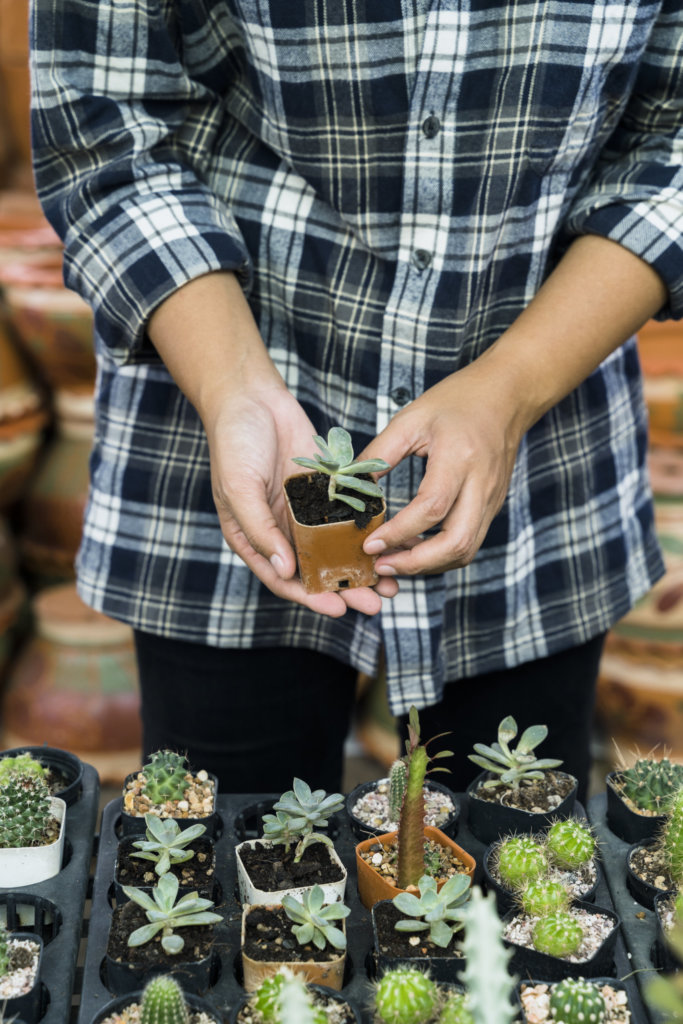
Transferring to Permanent Pots
Choose a pot with drainage holes to help prevent root rot. Fill it with a well-draining mix made for succulents. Gently loosen the plant from its current container by tapping the sides or using a small trowel.
Steps to transplant:
- Remove the succulent carefully, keeping roots intact.
- Place in the new pot at the same depth as before.
- Add soil around roots and lightly press down.
Wait a few days before watering to let any damaged roots heal. Place the pot in bright, indirect sunlight for the first week. Once settled, follow a regular succulent care routine with spaced watering and plenty of light. Avoid fertilizing right away; wait at least a month to prevent root burn.